Customize the Classic ALEKS View Class Summary Page
Customize ALEKS class content to align instruction with curriculum goals.
- Customer Support
- ALEKS
- PreK-12
- Class Management
- Classroom Teacher
- Middle School
- High School
- Direct Login & Auto-Rostering
- Direct Login & Manual-Rostering
- SSO & Auto-Rostering
- SSO & Manual-Rostering
- Supplemental
- Math


This article walks teachers through making changes to their class settings for the classic ALEKS view.
For a full page view of the demo, click here.
For a Spanish version of the demo, click here.
Article Contents
Access Class Summary
1. SSO or log in at my.mheducation.com.
2. Launch ALEKS.
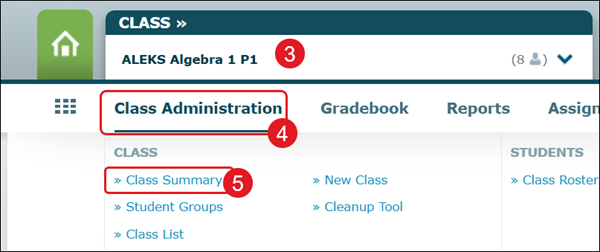
3. Select the Class from the drop-down.
4. Hover over Class Administration.
5. Click on Class Summary from the menu.
Class Information and Content
In the Class Information section, teachers can view who is set as the Instructor, the class and Period/Section names, as well as the Start and End Dates for the class.
In the Class Content section, teachers can download a copy of the Syllabus, view Standards correlations, and integration a Textbook to the course.
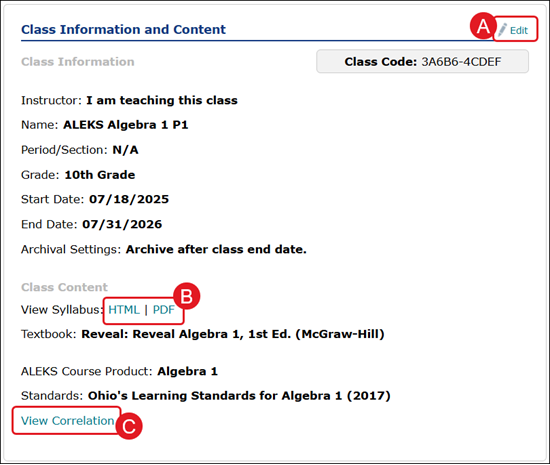
A. Click the Edit link to make changes to the section.
B. Click the HTML or PDF link to download the class Syllabus.
C. Click the View Correlation link to download a PDF of the Standards Correlation.
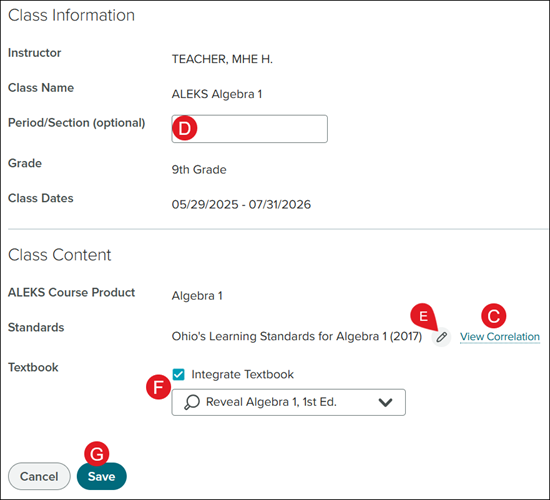
D. Enter a Period/Section for the class. This is optional.
E. Click the pencil icon to select the associated Standards.
F. To integration a textbook to the course, check the Integrate Textbook box and select the textbook from the drop-down.
G. Click the Save button to confirm changes.
Class Options
In the Class Options section, teachers can adjust the settings for Incoming and Unenrolled Students and turn on/off the Course Placement Check and Graphing Calculator.
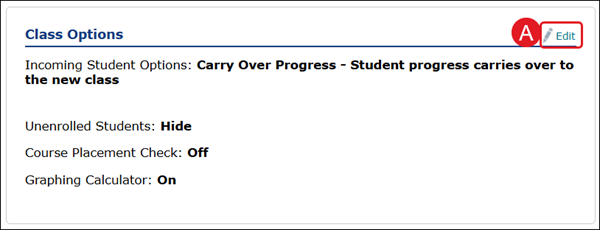
A. Click the Edit link to make changes to the section.
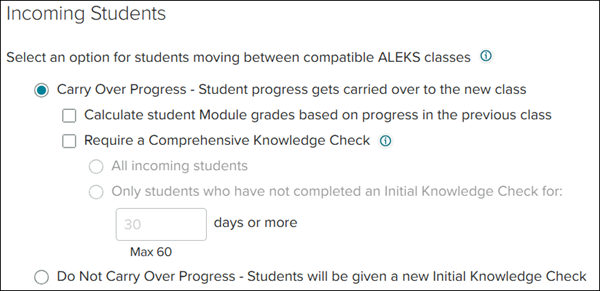
B. Select the radio button next to the Incoming Students option you want for the class.
If you select Carry Over Progress, click on the additional options you would like for how the student progress is calculated and if you want them to complete a Comprehensive Knowledge Check. This Knowledge Check consists of approximately 25 questions and will assess students on all of the material in the class.
If you select Do Not Carry Over Progress, the students will be prompted to complete a new Initial Knowledge Check.
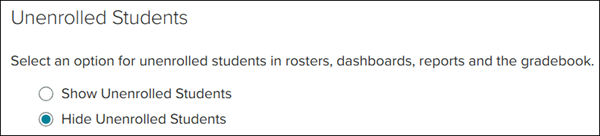
C. For the Unenrolled Students section, select if you want to Show or Hide Unenrolled Students in the Class Roster.
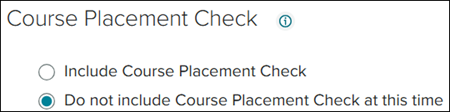
D. Select the radio button to Include or Do not include the Course Placement Check.
The Course Placement Check helps instructors determine the appropriate course product for each student.
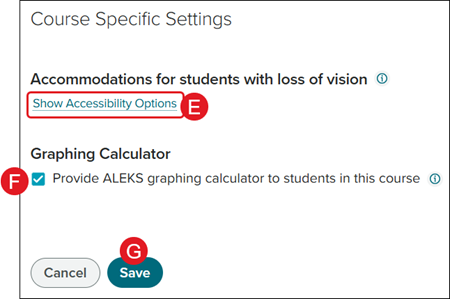
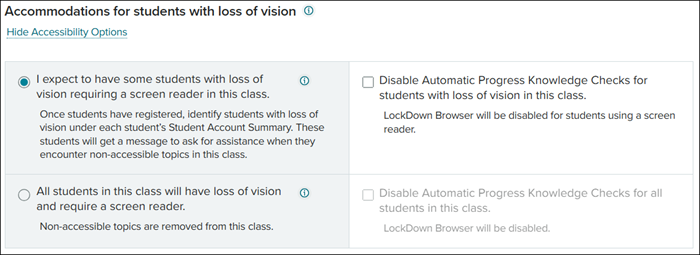
E. Click the Show Accessibility Options link to expand the section. Select the radio button and check the box beside the preferred selections.
Changing the Accessibility options may impact the number of topics students see in their Pie.
F. Check/uncheck the Graphing Calculator to include/remove the option for students.
Checking this box makes additional topics that require the use of a graphing calculator available. If this setting is unchecked, topics that require graphic calculators will be removed from the class.
G. Click the Save button to confirm changes.
Class Customization
The Class Customization section allows teachers to custom select what ALEKS topics students complete.
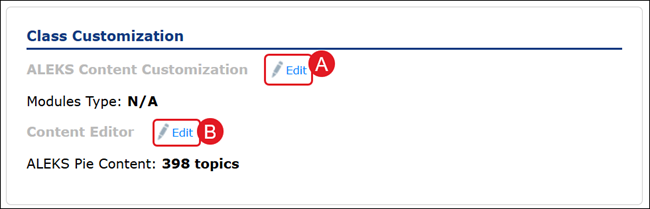
A. Click the Edit link for ALEKS Content Customization to creating modules or self-paced options for students.
B. Click the Edit link for Content Editor to select which ALEKS Pie Content the students are assigned to complete.
For in-depth steps on the different options for topic customization, refer to the following articles:
QuickTables Settings
The QuickTables section allows teachers to set research-based math fact mastery program options for multiplication, division, addition, and subtraction for students to complete.

A. Click the Edit or Edit Tables link to make changes to the QuickTables Settings.
For an in-depth walkthrough of setting up QuickTables, refer to the Classic ALEKS - QuickTables Management article.
Implementation Information
In the Implementation Information section, teachers can set Pie progress goals for students, set the minimum time required to be within the program, select the grade level for the course, as well as set the location in which students can access the program.
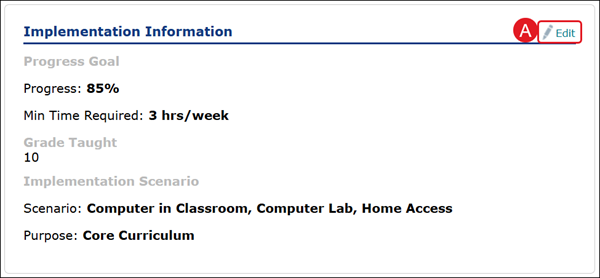
A. Click the Edit link to make changes to the section.

B. Select the Finish Pie percentage and minimum time spent in ALEKS from the drop-downs.
C. Check the box(es) next to the Grade(s) the course is for.
D. Check the box(es) next to the Scenario and Purpose for the course.
E. Click the Save button to confirm changes.
Resources
In the Resources section, teachers can add resources for students to access through their Resources page and/or while working on specific questions.
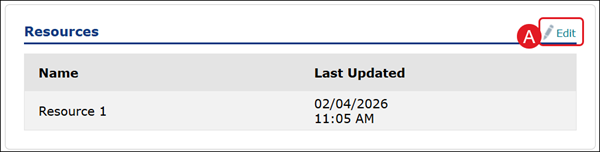
A. Click the Edit link to add resources to the course.
For an in-depth walkthrough of managing resources, refer to the Classic ALEKS - Resources article.
Additional Settings
In the Additional Settings section, teachers can make changes to the Student Enrollment Status, Archived Status, Notifications, and Knowledge Check and Worksheet options.
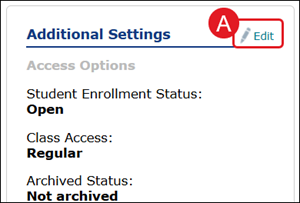
A. Click the Edit link to make changes to the section.
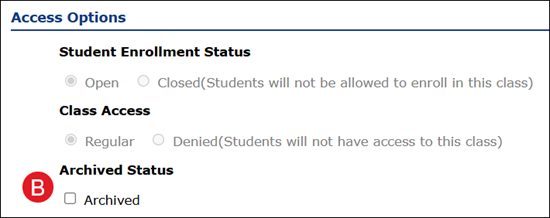
B. Check the box next to Archived to make the class no longer active within ALEKS.
Note: Archiving the class within ALEKS does not archive the class from your My Programs page. To archive the class on the My Programs page, refer to the Open Learning - Archive/Unarchive a Class article.

C. Check the box next to the preferred Notify options based on if the teacher wants to receive a notification about module completion or reach a certain point within the program.
If the selections for notifications and sending a certificate are selected, teachers will also need to select a syllabus and/or progress option from the drop-downs.

D. Check the box to Email student progress reports to parents/guardians and/or to Allow parent/guardians to reply directly back to the teacher from progress emails.
If the Email student progress reports to parents/guardians is selected, select how often to send the reports from the drop-downs.
Note: Please be advised that by enabling parent/guardian notifications, you may be sending personal data to third parties outside of ALEKS.
E. Click the view sample email link to view example of what parents will see in emails sent to them through the ALEKS program.

F. Check the box next to Allow access to this Class Form to activate the option.
Note: By using the Class Forum, students may access external website links from within ALEKS, added at the discretion of the instructor or administrator. We encourage you to review the privacy policies of each website you visit and use.

G. Check/uncheck the box next to the preferred Learning Options.
Box 1: On first encounter with a new topic, students will see the learning page first before starting on a problem.
Box 2: Students will have access to learning resources (tools on the right side of the page) while they are working on problems. These resources are always available on the learning page.
Box 3: If you want to reduce the number of ALEKS email from your students, turn this setting off. It removes the "Send Message" button from learning mode.
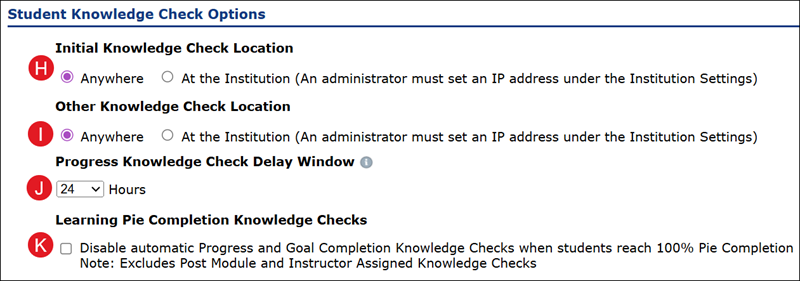
The Knowledge Check Options allows teachers to adjust settings for the Knowledge Check locations, Delay Window, and Pie Completion Knowledge Checks.
H. Select the preferred radio button for Initial Knowledge Check Location based on if students have access to complete the Knowledge Check Anywhere or only while At the Institution.
I. Select the preferred radio button for Other Knowledge Check Location based on if students have Open access or only while At the Institution.
Note: For the At the Institution option, an administrator must set an IP address under the Institution Settings within their administrator access for ALEKS.
J. Select the Progress Knowledge Check Delay Window from the drop-down. Default is set to 24 hours.
K. Check the Learning Pie Completion Knowledge Checks box if you would like to disable automatic Progress and Goal Completion Knowledge Checks when students have reached 100% Pie completion.
Note: This option does not include post module and instructor assigned Knowledge Checks.
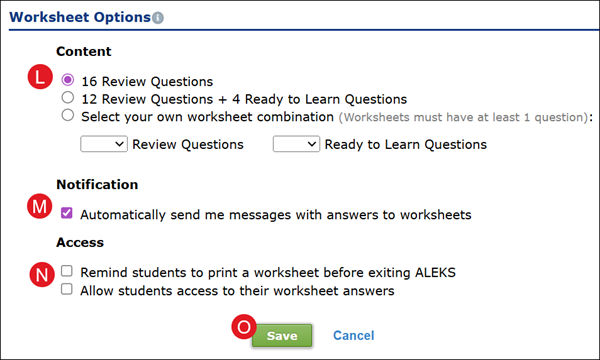
L. Select the radio button for which Content to include within worksheets. If selecting your own worksheet combination, select the number of Review and Ready to Learn Questions from the drop-downs.
Review Questions - These questions are selected from topics that the student has already mastered.
Ready to Learn Questions - These questions are selected from topics that the student is ready to learn.
Note: Worksheets can contain all Review Questions, but they will be more challenging for students when they have some Ready to Learn Questions.
M. Check/uncheck to Automatically send messages with answers to worksheets.
N. Select the box next to Remind students to print a worksheet and/or Allow students access to their worksheet answers.
O. Click the Save button to confirm changes.
Class Duplication Settings
The Class Duplication Settings allows other teachers to duplicate your class settings when they set up their own ALEKS courses. This option is set to Private as default.
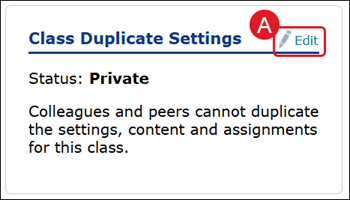
A. Click the Edit link to make changes.
For in-depth steps on managing the duplication settings, refer to the Classic ALEKS - Class Duplication Settings article.
Gradebook
The Gradebook is automatically disabled for ALEKS classes and is suggested that if teachers have Modules or assignments created for students to complete, they activate the gradebook.
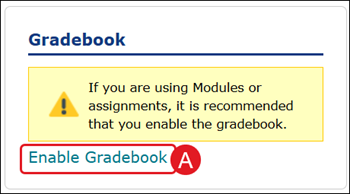
A. Click the Enable Gradebook link to turn it on.
For an in-depth walkthrough of setting up the Gradebook, refer to the Classic ALEKS - Gradebook article.
Share Class Access
To share ALEKS classes accessed through the McGraw Hill platform (My Programs) page, refer to the ALEKS - Class Sharing & Co-Teaching article.
Student Groups
Creating Student Groups allows teachers to manage different groups of students with different ALEKS options and assignments.
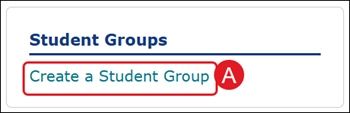
A. Click the Create a Student Group to create groups for ALEKS classes.
For an in-depth walkthrough of managing Student Groups, refer to the Classic ALEKS - Student Groups article.