Create a New McGraw Hill Assessment
Instructions on how to create customized assessments.
- McGraw Hill Social Studies
- Asi se Dice 2024
- Arrive Math
- Customer Support
- Online Assessments
- Inspire Science 2020
- Middle School
- High School
- Open Court Reading
- Glencoe Health 2022
- CA Impact 2019
- Wonders 2023 2020 2017
- Networks 2018
- CA Inspire Science 2020
- SSO & Auto-Rostering
- PreK-12
- Everyday Mathematics 4 (K-6)
- All Sorts 2026 (K-5)
- Supplemental
- Visual & Performing Arts
- Health
- Literacy
- Social Studies
- Core
- AP, Honors & Electives
- CA Reveal Math (K-12)
- Teen Health 2021
- FL Social Studies 2024 (K-12)
- Building Blocks PreK 2025
- McGraw Hill Literacy
- OCR Foundational Skills Kit
- TX Science 2025 (K-12)
- SSO & Manual-Rostering
- Number Worlds 2024
- Maravillas 2020 & 2017
- Direct Login & Manual-Rostering
- Classroom Teacher
- Elementary School
- FL Science 2025 (K-12)
- World Languages
- Math
- Direct Instruction
- Intervention
- OCR Word Analysis Kit
- Direct Login & Auto-Rostering
- Building Blocks 2024
- McGraw Hill My Math 2018
- Science
- Preschool
- AP Biology
- AP Chemistry
- AP History & Geography
- AP Psychology
- AP Economics
- AP African American Studies
- AP Precalculus
- AP Statistics
- AP Computer Science
- AP Language and Composition
- AP Public Speaking
- AP Music Theory
- 5 Steps to a 5 - AP Test Prep
- SRA Reading Laboratory 2025
- SRA Reading Mastery Transformations
- Achieve3000 Literacy
- Actively Learn
- McGraw Hill Literacy Emerge!
- McGraw Hill Literacy Summit!
- McGraw Hill Literacy Soar!
- Redbird
- StudySync 2021
- ALEKS
- ALEKS Adventure
- Illustrative Math
- Redbird Math
- Reveal Math (K-12)
- TN Science (K-12)
- Impact Social Studies
- Wonders Balanced Literacy 2016
- Music! Its Role
- Spotlight on Music


This article walks teachers through creating new assessments. Refer to our additional articles on how to further manage, assign, and grade assessments.
For a full page view of the demo, click here.
For a Spanish version of the demo, click here.
If you're using eAssessment, you will want to follow the steps in the eAssessment - Create & Edit Tests article.
Article Contents
Create a New Assessment Link Questions
Add Existing Question Change Link Conditions
Create New Questions Unlink Questions
Copy Question Create a Section
Edit a Section Delete a Section
Create a New Assessment
1. Launch your course.
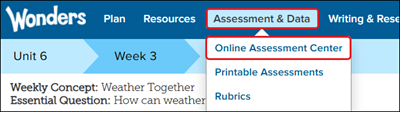
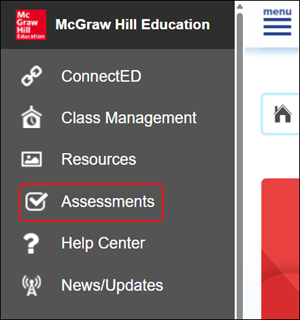
2. Click on Assessments from the navigation menu.
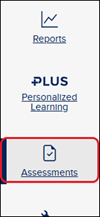
For certain programs, you will need to click on Assess, Assessment, or Online Assessment Center.

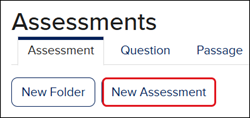
2. Click the New Assessment button.
3. Enter an Assessment Title.
4. Click the Create Assessment button.
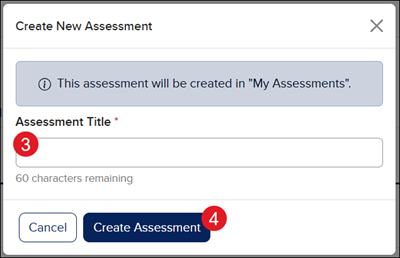
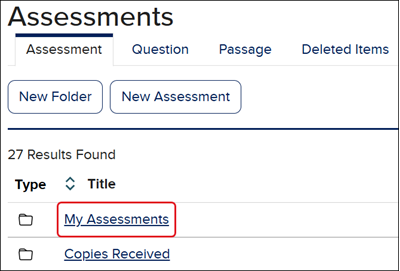
The page will automatically load to the newly created assessment. The assessment can also be found under the My Assessments folder.
Add Existing Questions
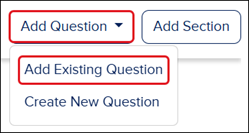
1. Click the Add Question button.
2. Click on Add Existing Question from the menu.
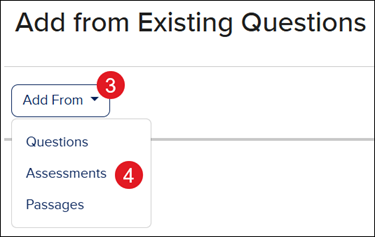
3. Click the Add From button.
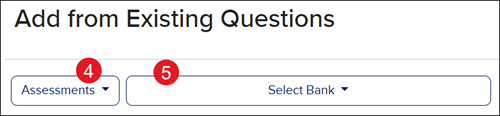
4. Click on Questions, Assessments, or Passages based on where you want to pull questions from.
5. Click the Select Bank button and select the assessment bank you want the questions from.
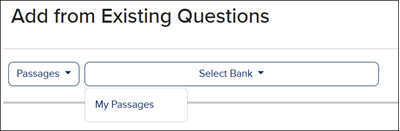
If you select Passages, you will only be able to select passages from the My Passages bank.
If you select Assessments, you will also need to choose an option from the Select Assessment drop-down.

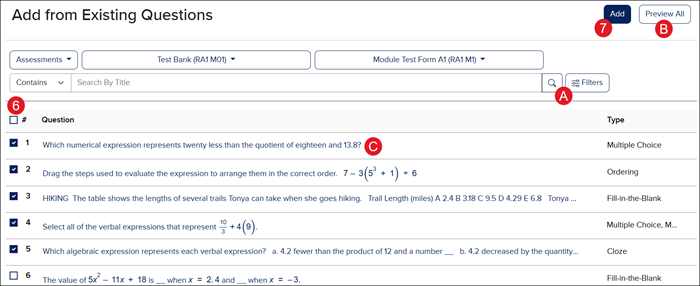
6. Check the box next to the Questions you want to add to the assessment.
A. To help locate the questions you want, use the Search By Title field and the Filters.
7. Click the Add button at the top-right.
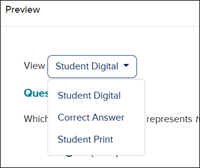
B. Click the Preview All button to view the selected questions.
C. Click on the Question to preview the question.
When previewing the questions, you will be able to toggle between seeing the Student Digital, Correct Answer, and Student Print views.
Add New Questions
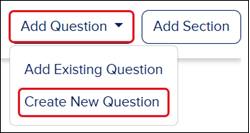
1. Click the Add Question button.
2. Click on Create New Question from the menu.
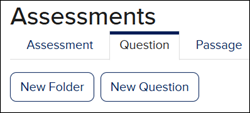
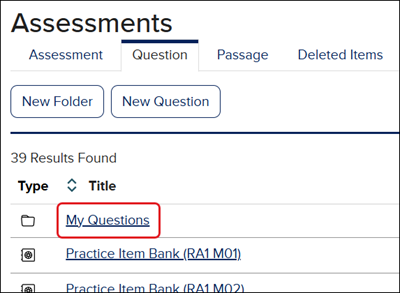
As an alternative, you can create a New Question from under the Question tab on the Assessments page. You will then be able to follow the steps in the Add Existing Question section to add the question to the assessment.
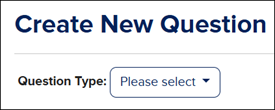
3. Select the preferred Question Type from the drop-down. Review the MH Assess - Question Types article for details on each option.
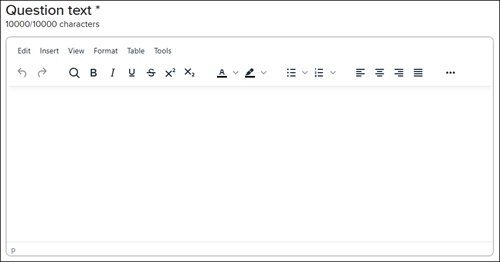
4. Enter the Question Text.
5. Depending on the question option selected, enter the Answer choices.
6. Click the X next to the correct Answer choice so that it shows a checkmark.
A. Toggle on Reason to add a reason for each Answer choice.
B. Toggle on to Shuffle the Answer choices.

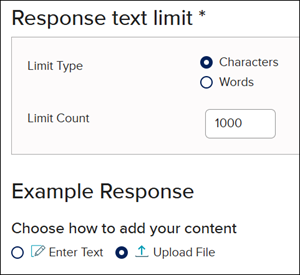
For certain question types, you will need to enter a Response text limit and to create an Example Response.
7. Enter a Hint, Example, and/or Explanation. Click the Continue button after each entry for it to save. These are optional.
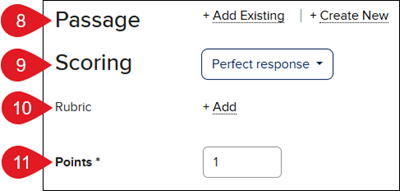
8. Add a Existing or New Passage. This is optional.
9. For certain question types, select the preferred Scoring option from the drop-down. Refer to the MH Assess - Advanced Scoring article for details on each of the scoring options.
10. For some question types, you have the option to add a Rubric.
11. Enter the Points the question should be worth.
12. Click the Save button at the top or bottom of the page.
Edit Question
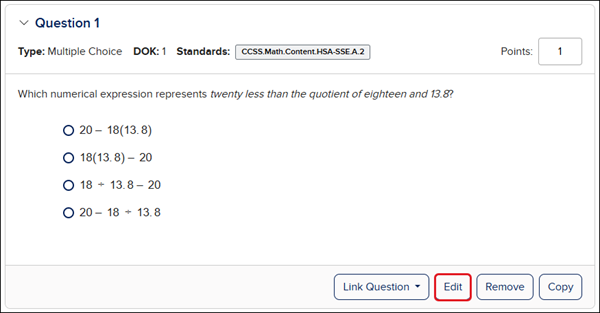
1. To make changes to a question on the assessment, click the Edit button.
2. Make any preferred changes to the fields.
3. Click the Save button at the top or bottom of the page.
If changes are made to an assessment question, a copy of the edited question can be found in your My Questions folder.
Link Questions
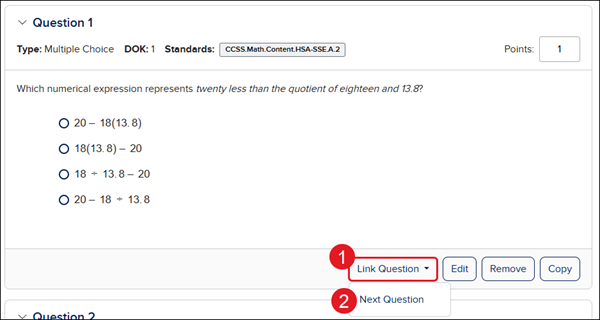
1. To link one question to the next, click the Link Question button.
2. Click Next Question from the menu.
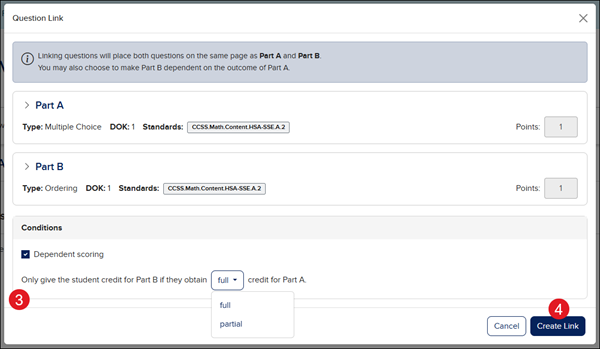
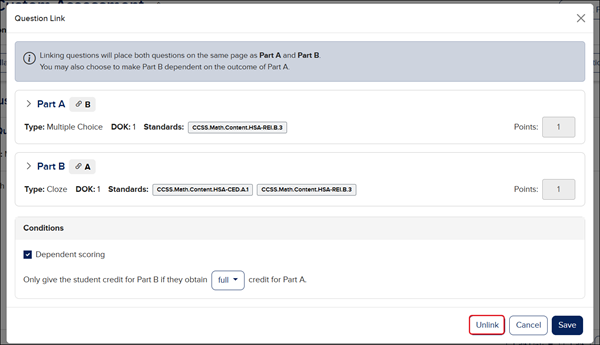
3. On the Question Link pop-up, verify the questions you are wanting to link together.
If you want to set Dependent scoring between the linked questions, check the box. You will then need to select full or partial for credit from the drop-down.
4. Click the Create Link button.
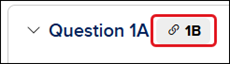
If questions have been linked, you will see a link icon next to the Question header.
Change Link Conditions
1. Click the Edit Link button.
2. Click on Edit Conditions from the menu.
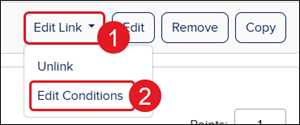
3. On the Question Link pop-up, make preferred changes.
4. Click the Save button to confirm any changes made.

Unlink Questions
1. Click the Edit Link button.
2. Click on Unlink from the menu.
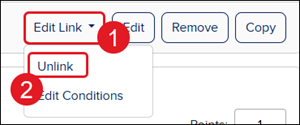
You can also click the Unlink button on the Question Link pop-up.
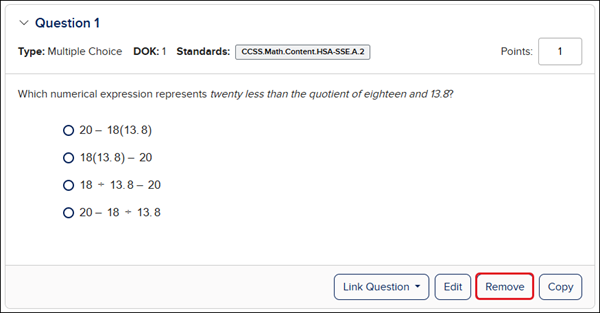
Remove a Question
1. To delete a question from an assessment, click the Remove button.
Keep in mind, if you accidentally removed the question, you will need to go through adding the question back to the assessment.
Copy a Question
To copy a question, click the Copy button.
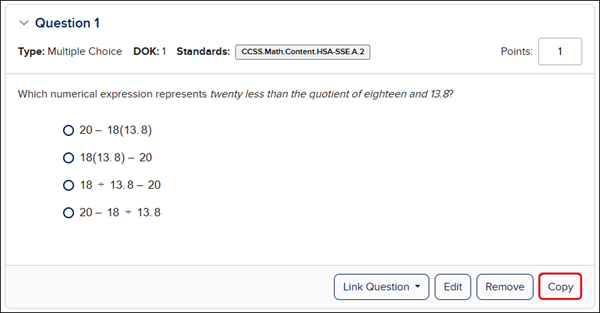
The duplicate of the question will be directly below the original with (copy) above the question text.

Create a Section
If you want multiple parts within an assessment to group questions together, you will want to create a new section.
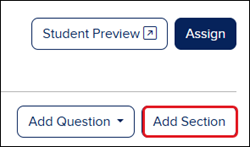
1. Click the Add Section button at the top-right.
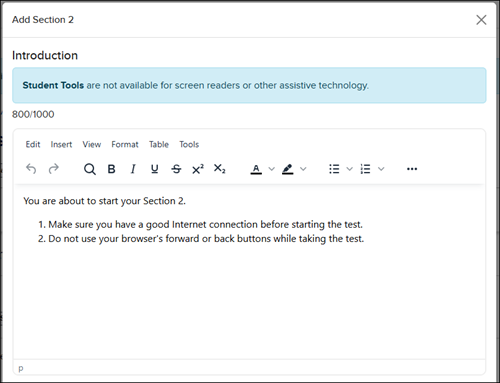
2. On the Add Section pop-up, enter an Introduction.
These are instructions students will see before they start the questions for that section.
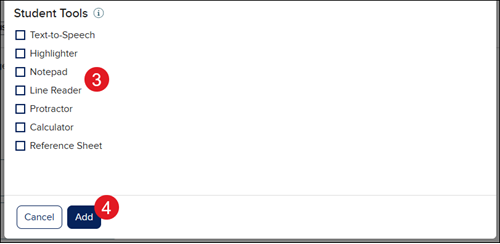
3. Check the box next to any Student Tools you would like them to have access to for that section.
4. Click the Add button.
The section will be added to the bottom of the assessment.
5. Any questions added will automatically go into the new section.
Click the up/down arrow to the right of the section name to reorder the sections.

Edit a Section
1. Click Edit Section (pencil icon).

2. Make preferred changes to the Introduction and Student Tools.
3. Click the Save button to confirm changes.
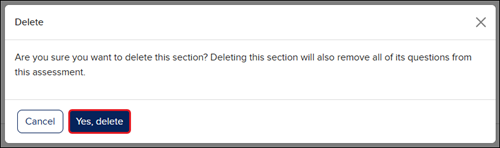
Delete a Section
When deleting a section you want to keep in mind that it will also remove all questions associated to that section.
1. Click Delete Section (trash can icon).

2. On the Delete pop-up, click the Yes, Delete button to confirm.