Direct Instruction - Class Management for ConnectED Classes
Manage Direct Instruction classes by creating, editing, or removing a class and updating rosters for the correct students and teachers.
- Open Learning Platform
- Getting Started & Orientation
- Direct Instruction
- SSO & Manual-Rostering
- Customer Support
- Direct Login & Auto-Rostering
- Middle School
- Class Management
- Direct Login & Manual-Rostering
- High School
- Classroom Teacher
- SSO & Auto-Rostering
- PreK-12
- Preschool
- Elementary School


Article Contents
Create a Class
View Class Code
Add Students to Class
Remove Students from Class
Print Passwords
Edit Student Profile
Edit a Class
Delete a Class
Create a Class
1. Click on the program icon or the Associated Course Content link.
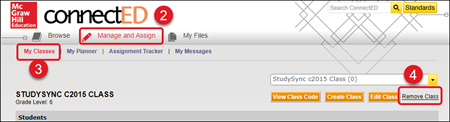
2. Click on Manage & Assign from the Navigation Menu bar.
3. Click the Create Class button.
4. In the Create Class pop-up, enter a Class Name.
5. Select the Grade Level of the class.
6. Check the box if you would like to use Simplified Login. This is usually recommended for lower grade levels.
The Simplified Login option allows students to sign into their account by clicking on images instead of entering a username and password.
7. Click the Save button.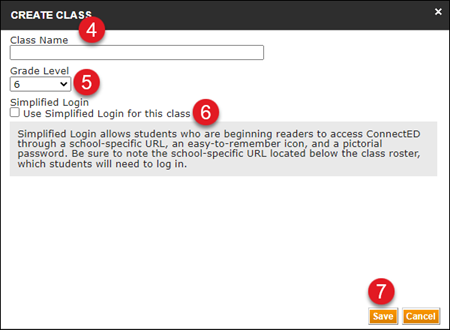
View Class Code
1. Click on the program icon or the Associated Course Content link.
2. Click on Manage & Assign from the Navigation Menu bar.
3. Click My Classes from the second menu bar.

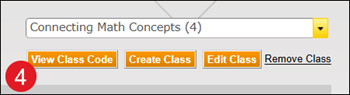
4. Click the View Class Code button.
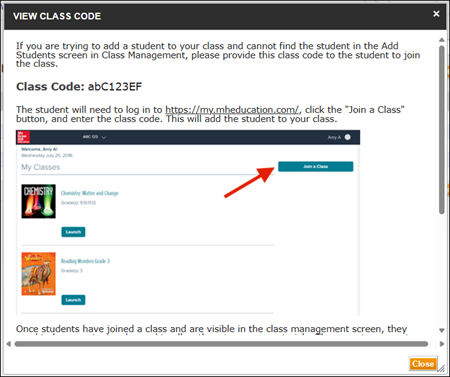
From the View Class Code pop-up, provide the 8-character class to the students who need it. Students only need this class code if you want them to add themselves to the class from their student profile instead of you manually adding them to the class.
Add Students to Class
1. Click on the program icon or the Associated Course Content link.
2. Click on Manage & Assign from the Navigation Menu bar.
3. Click My Classes from the second menu bar.

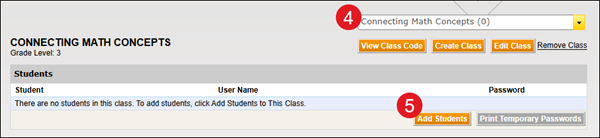
4. If you have created more than one class, select the correct class from the drop-down.
5. Click the Add Students button.
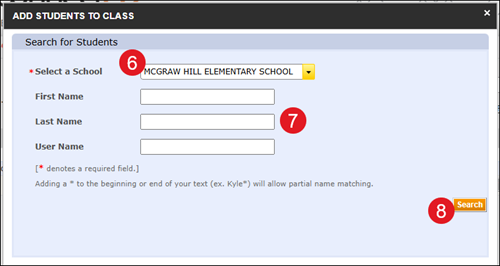
6. On the Add Students to Class pop-up, if you are assigned to multiple schools, select the correct School from the drop-down.
7. Enter the student's First and Last Name and/or User Name.
If the students are not yet in the system, you will need to follow the steps on the Import New Students Tutorial article.
8. Click the Search button.
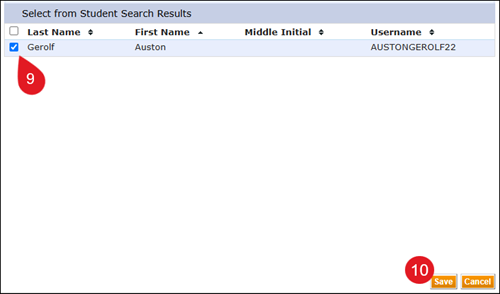
9. Check the box next to the student.
10. Click the Save button.
You will need to repeat steps 5-10 until all students are added to the class. An alternative is to follow the steps on the Add Existing Students to Classes Tutorial. This tutorial will walk you through adding existing student accounts to the class through the import process.
Remove Students from Class
1. Click on the program icon or the Associated Course Content link.
2. Click on Manage & Assign from the Navigation Menu bar.
3. Click My Classes from the second menu bar.

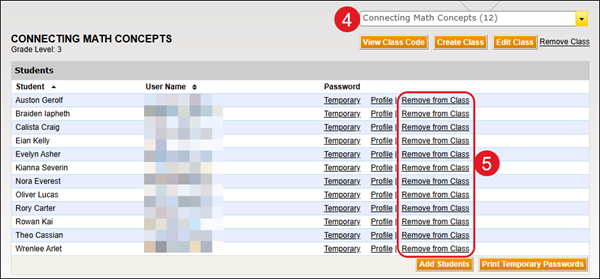
4. If you have created more than one class, select the correct class from the drop-down.
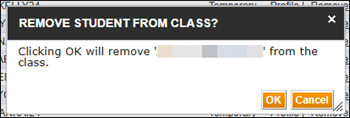
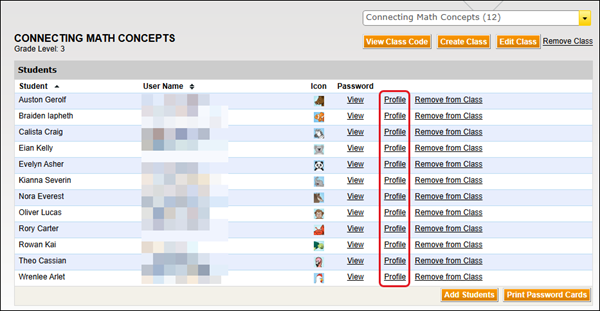
5. Click the Remove from Class link to the right of the student's name.
6. On the Remove Student pop-up, click the OK button to confirm.
Print Passwords
1. Click on the program icon or the Associated Course Content link.
2. Click on Manage & Assign from the Navigation Menu bar.
3. Click My Classes from the second menu bar.

4. If you have created more than one class, select the correct class from the drop-down.
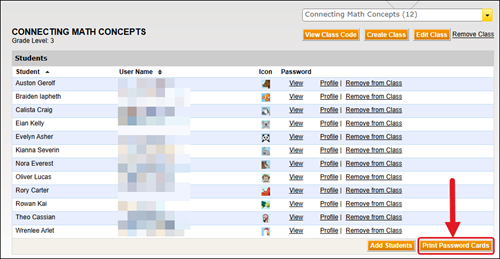
5. If you have Simplified Login turned on, click the Print Password Cards button at the bottom of your student list. This will print out a PDF with all of the students' passwords cards that will include the school URL they need to navigate to, their class name and icon, along with their 3-character password.
Click the View link to the right of the student's name to print their individual Simplified Login password card.
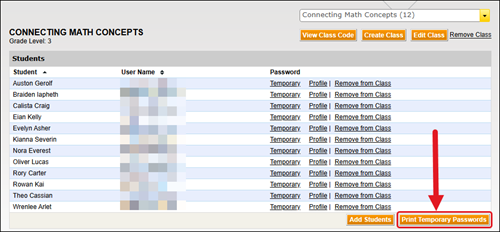
If you do not have Simplified Login turned on, click the Print Temporary Passwords button. Click the Temporary link to the right of a student's name to print their individual temporary password.
Edit Student Profile
1. Click on the program icon or the Associated Course Content link.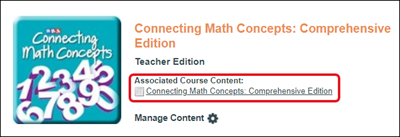
2. Click on Manage & Assign from the Navigation Menu bar.
3. Click My Classes from the second menu bar.

4. If you have created more than one class, select the correct class from the drop-down.
5. Click the Profile link to the right of the student's name.
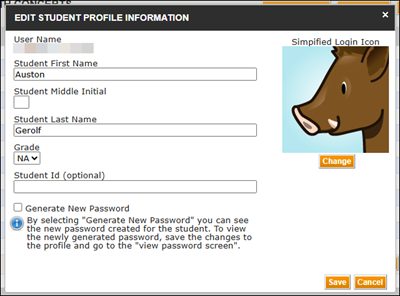
6. On the Edit Student Profile Information pop-up, you can edit the student's First and Last Name, Middle Initial, Grade, and their Student Id.
If you have Simplified Login turned on, you can also change the student's assigned Simplified Login Icon and check the box to Generate New Password.
7. Click the Save button to save any changes made.
Edit a Class
1. Click on the program icon or the Associated Course Content link.
2. Click on Manage & Assign from the Navigation Menu bar.
3. Click My Classes from the second menu bar.

4. Click the Edit Class button.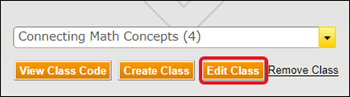
5. In the Edit Class Information pop-up, enter the Class Name and change the Grade Level, if desired.
You also have the option to turn on/off Simplified Login.
6. Click the Save button.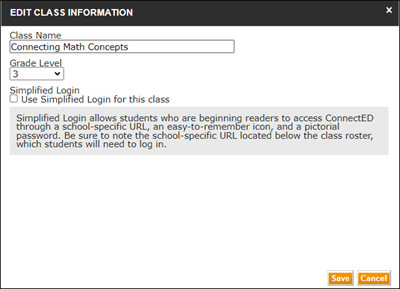
Delete a Class
1. Click on the program icon or the Associated Course Content link.
2. Click on Manage & Assign from the Navigation Menu bar.
3. Click My Classes from the second menu bar.
4. Click the Remove Class link to the right.