ALEKS Adventure - Grades K-2 Program Navigation
Guide students through ALEKS Adventure program navigation.
- Supplemental
- ALEKS Adventure
- Math
- Getting Started & Orientation
- Dashboard & Navigation Overview
- SSO & Manual-Rostering
- Customer Support
- Direct Login & Auto-Rostering
- School Student
- Direct Login & Manual-Rostering
- School Parent
- SSO & Auto-Rostering
- PreK-12
- Preschool
- Elementary School


This article walks grade K-2 students through the different page views they will see when navigating through their ALEKS® Adventure™ course.
For a full page view of the demo, click here.
For a Spanish version of the demo, click here.
The following information is for grades K-2 ALEKS Adventure only. If you are looking for how to navigate the homepage for grade 3, please refer to the ALEKS Adventure - Grades 3 Program Navigation article.
Article Content
Start Page
The ALEKS Adventure Start page appears any time ALEKS Adventure is launched. Selecting Start on the page begins the student experience. If this is the first time the student has logged into ALEKS Adventure, the onboarding narrative begins.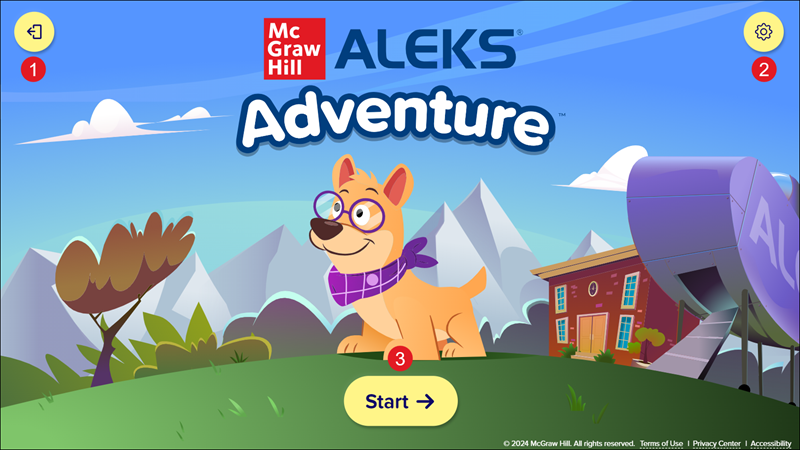
1. Exit Button - Closes ALEKS Adventure and returns students to their Open Learning My Programs dashboard.
2. Settings Button - Opens the Settings panel where students can toggle buttons on and off to change their environment in ALEKS Adventure. The Settings button is available in the top-right corner of every page in ALEKS Adventure.
3. Start Button - The Start button takes students to the ALEKS Adventure Homepage.
Homepage
After students create their character and ship and complete the Initial Knowledge Check, they are directed to the homepage where they can enter a portal to start their learning experience.
There are three different versions of the ALEKS Adventure Homepage:
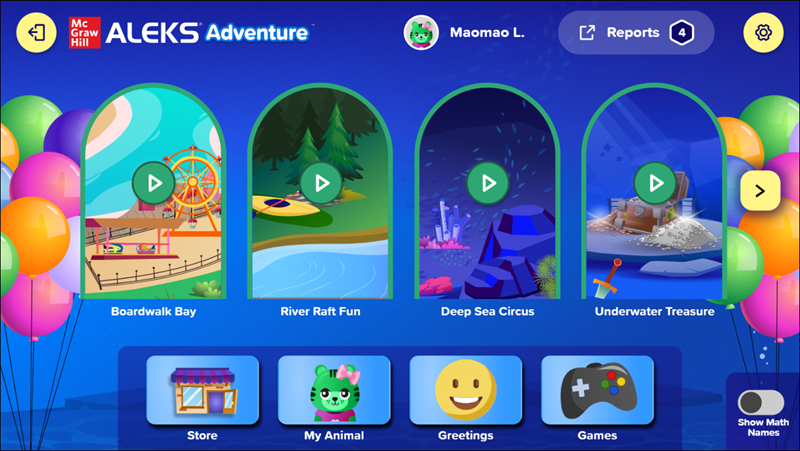
Standard: Appears when students log in while working on the course and displays the student’s topic portals along with the Fact Fluency Game.
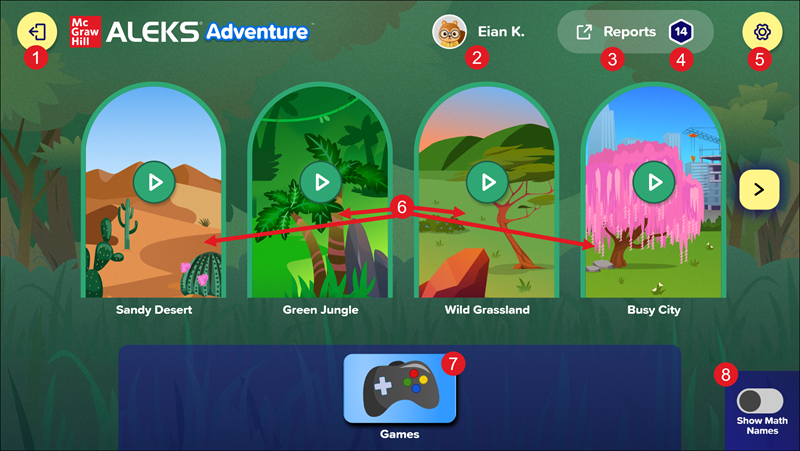
1. Exit Button - Closes ALEKS Adventure and returns students to their Open Learning My Classes dashboard.
2. Student Profile - This displays the student's character as their profile picture next to their name.
3. Reports - Students and parents/guardians can view the student’s pie progress using the Reports button.
4. The number of Topics students have completed is displayed in the hexagon.
This number does not include Knowledge Checks or any topics ALEKS Adventure has marked as complete due to the results of the Initial Knowledge Check. Students can click the Student Profile button to make customizations to their character.
5. Settings Button - Opens the Settings panel where students can toggle buttons on and off to change their environment in ALEKS Adventure. The Settings button is available in the top-right corner of every page in ALEKS Adventure.
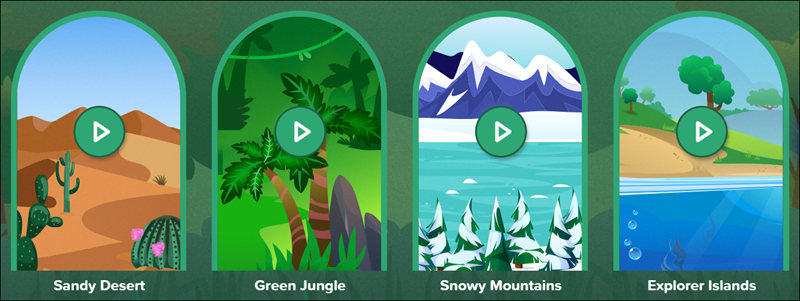
6. Lands - Lands are used to navigate to different topics. Selecting a land portal takes students to a map of the topics available within that land. The land’s name is visible below the each land image.
Portals have four different states: Nothing to Play, Ready to Play, Locked, and Completed. These states are indicated by the appearance of the portal and the icon on the portal image.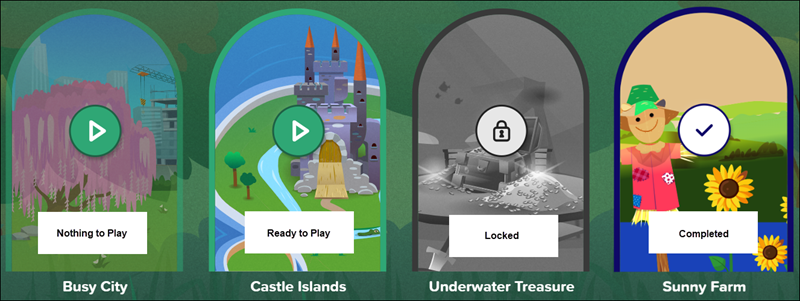
- Nothing to Play - If the student has completed all unlocked topics in a portal but has not unlocked all the topics, the portal appears slightly faded with a green play button icon on the image. The student needs to complete topics in other portals to unlock more topics in this portal. They may still enter the portal to replay completed topics if desired.
- Ready to Play - There are topics in this portal that are ready for the student to play. This status is indicated by a green play button icon on the portal image.
- Locked - Portals show as locked if the student has not yet unlocked them. The portal unlocks when the student completes the appropriate prerequisites by finishing topics in other portals. This status is indicated by a lock icon on the portal image, and the portal image appears in black and white.
- Completed - Portals switch to this status after the student completes all the topics available in the portal. They may still enter the portal to replay completed topics if desired. This status is indicated by a white check mark icon on the portal image.
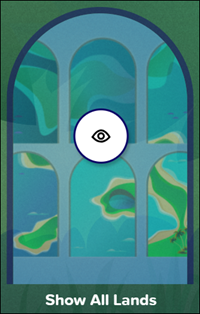
Lands that are not Ready to Play are hidden by default. Students can view these lands by selecting Show All Lands from the far right of the list of lands. This makes all lands visible regardless of status. If the page is refreshed or the student logs out and logs back in, the homepage resets to the default view and the lands that are not yet ready to play are hidden from view.
6. Navigation Arrows - Scroll to any available portals not currently visible on the screen. These navigation arrows can appear on both the left and right sides of the screen.
7. Games - Students click the image to access the Fact Fluency game. When they first log in, the game is available to practice one time from the homepage by default. After they play the game once from the homepage, the option appears greyed out and locked. To play the game additional times, students choose it as their reward on the Topic Rewards page after completing a new topic.
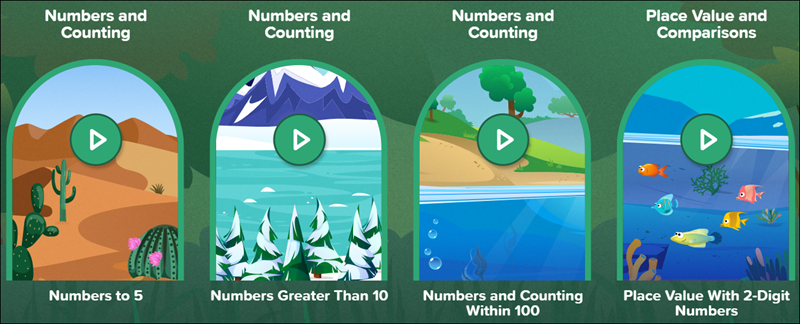
8. Show/Hide Math Names Toggle (default off): Students can select this toggle to view the math names for the lands. The math name on the top of the portal represents the corresponding slice of the ALEKS Pie for the course product as seen in the instructor module, and the math name on the bottom corresponds to the sub-slice of the ALEKS Pie as seen in the class ALEKS Pie report. After toggling, the lands slightly resize and the math names appear above them. Selecting the toggle again returns the lands to their original size shows only the land name.
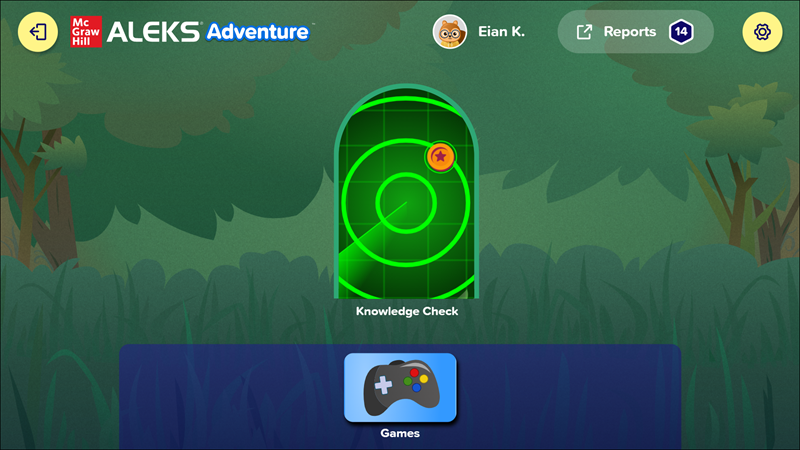
Knowledge Check Portal: Appears after the Topic Rewards page when students successfully complete a topic and displays the portal for the Progress Knowledge Check and the icon for the Fact Fluency Game. The knowledge check must be completed for the standard ALEKS Adventure Homepage to be available again.
Course Completion: Appears when students complete the course and displays all post-course completion rewards as well as the topic portals for review.
Land Map Navigation
After using a portal to enter the land, students can see all the topics they need to complete within the land. Each landmark on the land represents a different topic.
Students can select topics that are unlocked to learn and practice the activities within the topic. Locked topics require certain prerequisites to be completed before they are available to students.
When students pass a topic for the first time, they receive a Coin as a reward and are given the option to move on to another topic or go to the Store.
Note: Additional Coins are not rewarded when repeating a completed topic.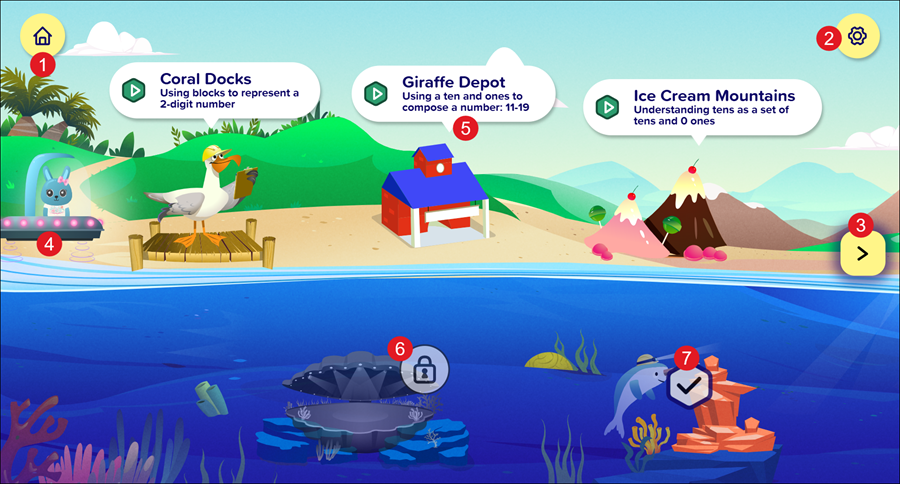
1. Home Button - Returns the student to the Homepage.
2. Settings Button - Opens the Settings panel where students can toggle buttons on and off to change their environment in ALEKS Adventure. The Settings button is available in the top-right corner of every page in ALEKS Adventure.
3. Navigation Arrows - Scrolls in between screens on the land. These navigation arrows can appear on both the left and right side of the screen. When selected, the navigation arrows navigate to additional parts of the land either to the right or the left of the currently visible part of the land.
4. Student Character - Student characters appear in their ship on the map next to the topic that is recommended to complete next. Students can still select any unlocked icon to play a different topic instead.
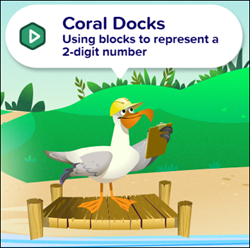
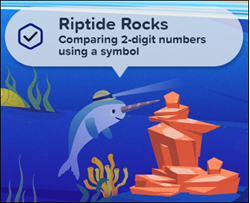
5. Landmark - Landmarks indicate topics students can take and are represented by a character and/or location and a text bubble that contains information about the landmark.
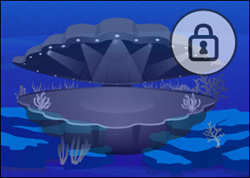
The Status icon for each Landmark indicates the following:
Green Play Icon - Indicates the topic needs to be completed. Students can select the Landmark to start the topic.
Check Mark Icon - Indicates the topic has been learned. This icon appears collapsed. Students can select the hexagon to expand the title of the learned topic.
The text bubble description and the Landmark appear faded out to encourage students to continue with the next lesson in their learning path, but students can select the lesson to practice it again. Some topics may be already marked as learned when students first enter the portal due to the results of the Initial Knowledge Check. The topic title collapses again when the page is refreshed.
Lock Icon - Indicates other topics that need to be completed to unlock this topic. The topics that need to be completed may or may not be on the same map. The text bubble description is not available for locked Landmarks, and the Landmark appears faded out and cannot be selected.
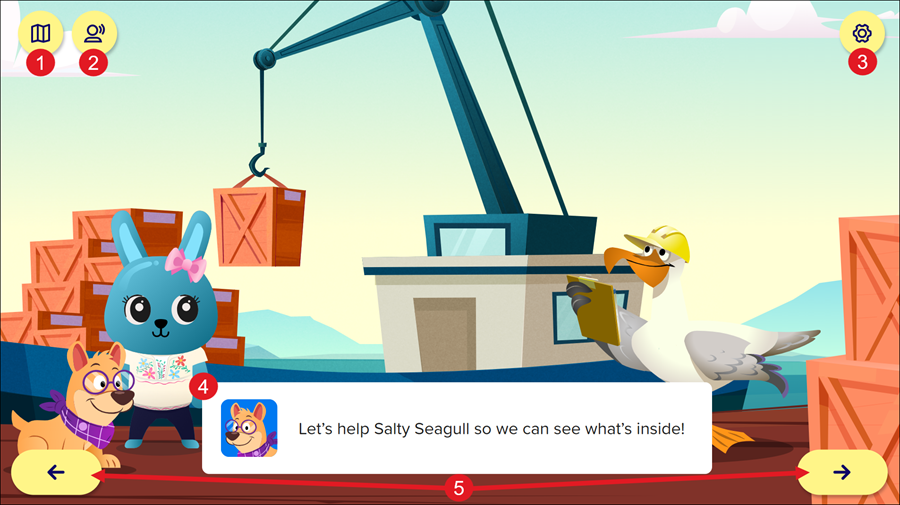
Topic Navigation
The landmarks in each ALEKS Adventure land provide students with a story for the topic they are learning, guided practice, and/or independent practice to help them learn the topic. Students can select the text bubble or the landmark to open the topic.
- Topic Story: The topic is framed as a problem that the student and Digit the Dog can help a character or characters with.
- Guided Practice: Students are guided through how to solve the problem using narration, images, animation, and on-screen text.
- Independent Practice: Students must try to solve the problem on their own.
Note: A 2nd-grade student might see a 3rd-grade map if the teacher has enabled certain enrichment content for the class.
Once students successfully completed the independent practice portion of the topic, they are taken to the Progress Knowledge Check and then given topic rewards.
1. Map Button - The Map button returns students to the current topic map.
2. Replay Button - Replays the audio on the page.
3. Settings Button - Opens the Settings panel where students can toggle buttons on and off to change their environment in ALEKS Adventure. The Settings button is available in the top-right corner of every page in ALEKS Adventure.
4. Narration - All narration has both an audio and a visual component. The narration may appear in a text box on the screen or it may appear as text without a text box across the top of the screen.
5. Navigation Arrows - Navigate to the screen before or the next screen by clicking on the left or right arrows.
Not all pages in an assignment have both navigation buttons. When the forward navigation button is missing, the student needs to select an item on the screen to progress. The item that needs to be selected is indicated by a pointing hand icon. Students can select the item or the hand icon to progress to the next page.
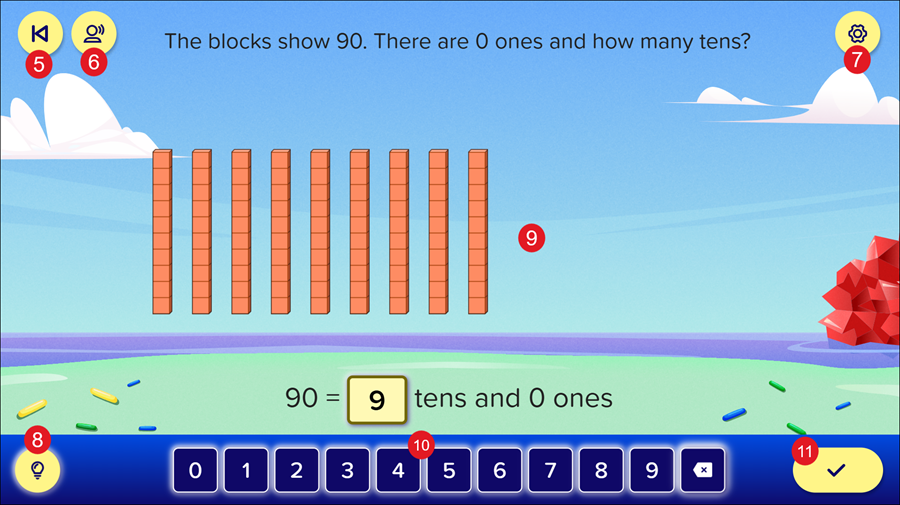
5. Back Button - The Back button returns students to the previous page of the topic.
6. Replay Button - Replays the audio on the page.
7. Settings Button - Opens the Settings panel where students can toggle buttons on and off to change their environment in ALEKS Adventure. The Settings button is available in the top-right corner of every page in ALEKS Adventure.
8. Hint Button - The Hint gives students a short description as to how to solve the activity.
9. Activity - The student will need to complete the various activities to move to the next topic activity.
10. Number Entry - The student can use the number buttons to enter their answer into the activity. Note: The number entry is not available for every activity.
11. Check Button - The student will click this to check their answer after entering it into the activity. The button will be grayed out until an answer is entered.