Access and Navigation Presentations in Wonders/Maravillas
Deliver instruction using Wonders 2020 presentations designed for whole-class and interactive teaching.
- Literacy
- SSO & Manual-Rostering
- Customer Support
- Direct Login & Auto-Rostering
- Wonders 2014
- Maravillas 2020 & 2017
- Core
- Plan & Present
- Direct Login & Manual-Rostering
- Classroom Teacher
- Wonders Balanced Literacy 2016
- Wonders 2023 2020 2017
- SSO & Auto-Rostering
- PreK-12
- Elementary School
- Kindergarten
- 1st Grade
- 2nd Grade
- 3rd Grade
- 4th Grade
- 5th Grade
- 6th Grade
- Middle School


You can view a video here that will walk you through the steps mentioned in the document below.The presentation provides you with all of your lesson materials in a projectable, digital format for your current day of instruction.
Contents:
Access Presentation
Navigate Presentation
Edit Presentation
Access Presentation
1. On the Teacher Dashboard, select the Unit and Week you want to view the presentation for if you want to view a different selection from what is currently on the calendar.
2. Hover over the Today's Presentation box and click the Go button to launch the presentation.
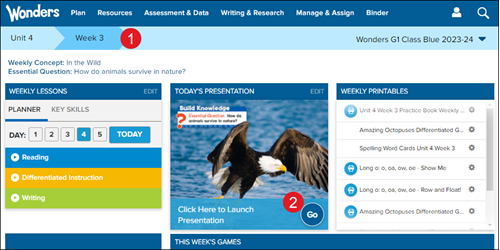
The presentation will open in a pop-out browser window.
Note: if the presentation doesn't open, check that your pop-up blocker is not stopping the window from opening. Pop-up blocker setting steps can be found here: General Tech Questions.
Navigate Presentation
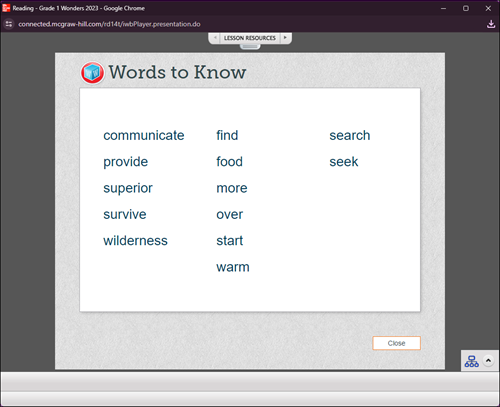
A. Use the back-and-forth arrows to move through the different resources within the presentation.
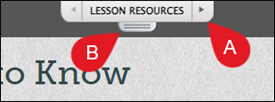
B. Click on Lesson Resources to view all the resources within the presentation.

C. Use the arrows and scroll bar to navigate through the available presentation resources.
D. Click on the resource to open it. Some of the presentation resources will open as a PDF or in another window.
E. Click the tab to close the Lesson Resources tray.

F. Some resources will include additional tools. You can use these tools at the bottom of the presentation window to write, draw shapes, and make highlights.
G. Use the hand to move the page around and click on the magnifying glass options to zoom in and out of the page.
H. When you write or draw on a Graphic Organizer, it is saved to My Graphic Organizers. Click the arrow to view all your edited Graphic Organizers.
I. Click the Save icon to save the resource to your Binder. Click the blue arrow to undo any markings and the page navigation to move between pages of the selected resource.
Edit Presentation
You can edit the presentation as well and add or remove resources to the selected Unit/Week presentation.
On the Teacher Dashboard, click the Edit link at the top-right of the Today's Presentation box.
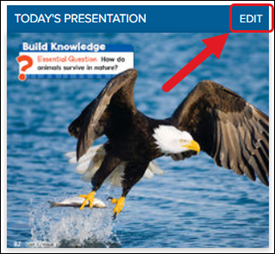
This will take you to the Resource Library of Wonders.
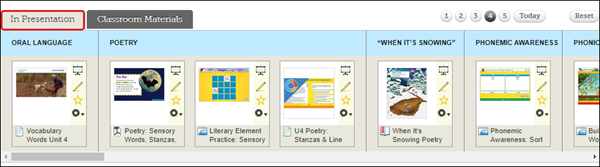
The In Presentation tab contains the presentation resources for the week by day, separated by lesson category. The lessons are arranged based on the order you have in your Weekly Planner.
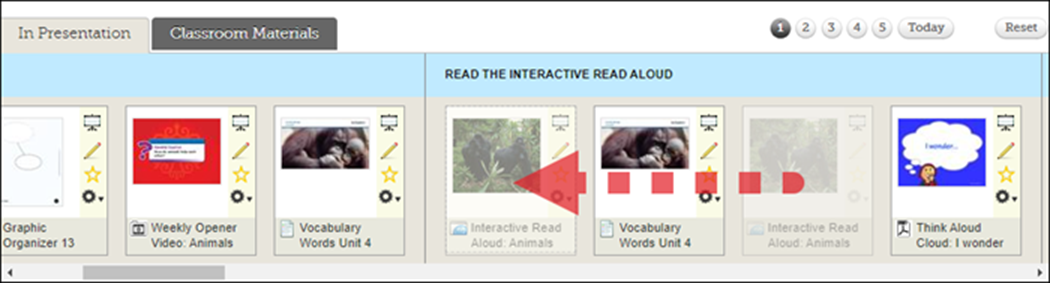
You can rearrange the resources within the Resources Bar by clicking and dragging the resource to a new location.
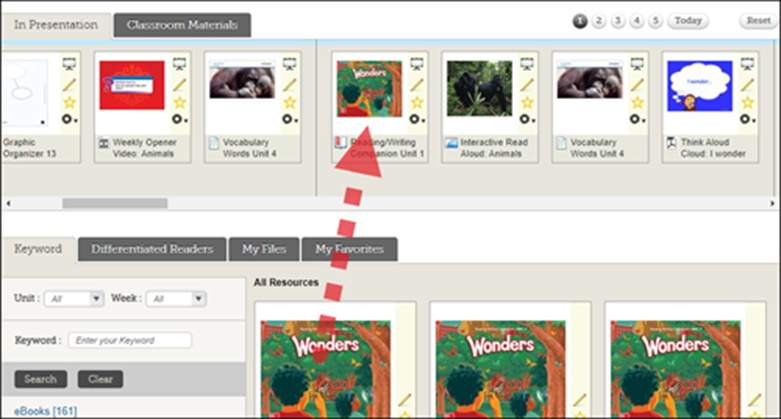
Add a new resource by clicking and dragging the resource from within the Resource Library.
Remove a resource from the Resources Bar by clicking on the Tools icon and selecting Remove this Resource from the presentation in the menu.
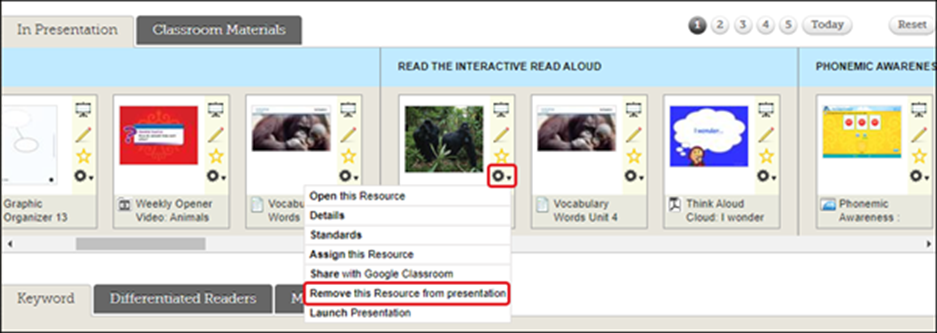
Click on L aunch Presentation from the Tools menu on one of the resources to open the presentation.
