Share eAssessment Tests and Question Sets as an Administrator
Share tests and question sets with teachers in eAssessment to support collaboration.
- Networks 2014 (K-5)
- SSO & Manual-Rostering
- Customer Support
- Online Assessments
- iScience 2017
- Middle School
- Direct Login & Manual-Rostering
- Glencoe Algebra 1 2014
- High School
- Glencoe Algebra 1 2018
- Building Blocks 2015
- SSO & Auto-Rostering
- Glencoe Science 2017
- Pre-Algebra 2012
- PreK-12
- Elementary School
- World Languages
- Inspire Science 2017
- Math
- Asi se Dice 2016
- Health
- Glenoce Algebra 2 2018
- Intervention
- Literacy
- Social Studies
- Glencoe Math Course 1
- Direct Login & Auto-Rostering
- Wonders 2014
- Glencoe Math Course 2
- Glencoe Math Course 3
- Number Worlds 2015
- Core
- Core Plus Math 2015
- Glencoe Health 2014
- McGraw Hill My Math 2013 & 2016
- Glencoe Algebra 2 2014
- School Administrator
- Science
- Networks 2014 & 2016
- Preschool
- Glencoe Math
- Glencoe Science


If the Sharing Center is not visible in your account, and you believe you should have access to this feature, you will need to add the Organization Administrator role to your account. Refer to the Manage Roles for an Existing User article for instructions on adding roles to user accounts.
You will also need to have a teacher role assigned with the content redeemed to your teacher account.
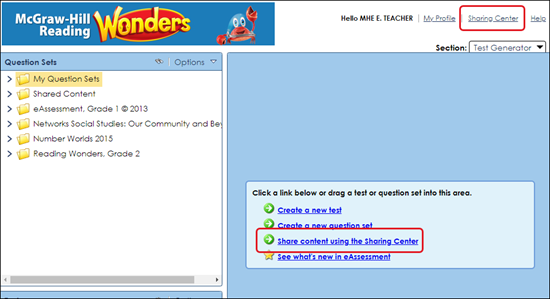
1. Open eAssessment and select Sharing Center at the top right or click the Share content using the Sharing Center link in the Editor pane.
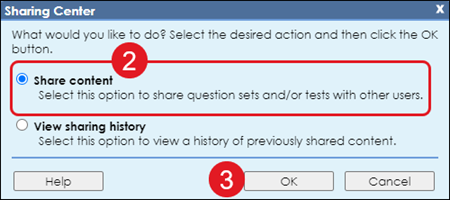
2. Select the radio button next to Share content.
3. Click the OK button.
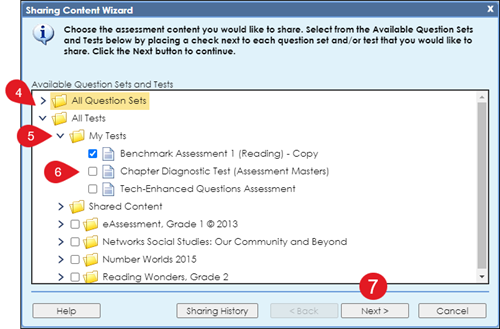
4. Expand the All Question Sets or All Tests section where what you want to share is housed.
5. Expand the folder options until you see the Question Set or Test you want to share.
6. Check the box next to the items you want to share.
7. Click the Next button.
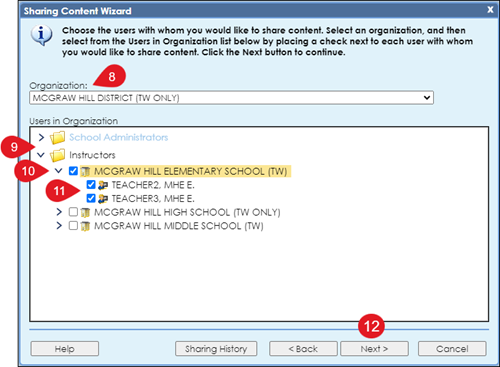
8. Select the Organization from the drop-down where the admins and/or teachers are located. If you only have one district/organization assigned, you will not have any additional options to select from.
9. Expand the School Administrators and/or Instructor folders.
10. Expand the school folder where the user is located.
11. Check the box next to the admins and/or teachers you want to share the selected item(s) with.
12. Click the Next button.
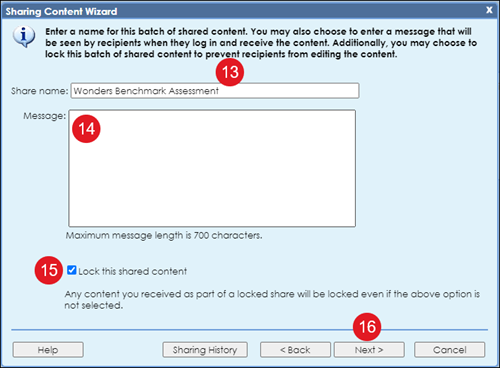
13. Enter a Share name. This is required.
14. Enter a Message for the admins/teachers that you are sharing the item(s) with. This is optional.
15. Check the box next to Lock this shared content if you do not want the person(s) you are sharing the item with to be able to make any changes. This is auto-selected.
16. Click the Next button.
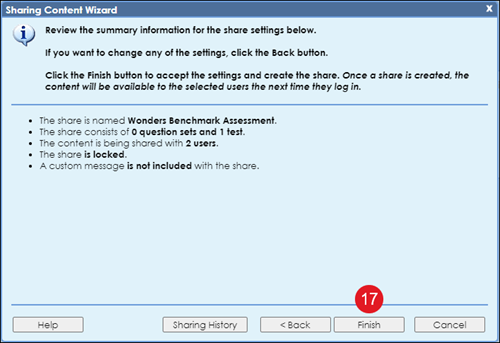
17. Click the Finish button on the summary page.
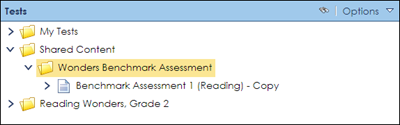
Those that received the shared file(s) will receive a message when they launch into the Test Generator of what was shared with them.
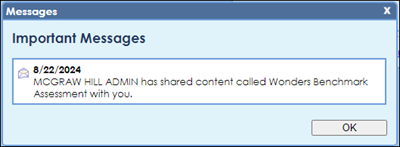
They will then be able to find the shared file(s) under their Shared Content folder under Question Sets or Tests, depending on what was shared with them.