Accessing and Navigating the ALEKS Adventure Store
Explore the ALEKS Adventure store where students use earned rewards to customize their experience.
- Supplemental
- ALEKS Adventure
- Math
- SSO & Manual-Rostering
- Customer Support
- Direct Login & Auto-Rostering
- School Student
- Direct Login & Manual-Rostering
- School Parent
- SSO & Auto-Rostering
- PreK-12
- Elementary School
- Student Resources
- Dashboard & Navigation Overview


For a full page view of the demo, click here.
For a Spanish version of the demo, click here.
Article Contents
Overview
Students can access the Store from the Topic Rewards page after successfully learning a new topic.
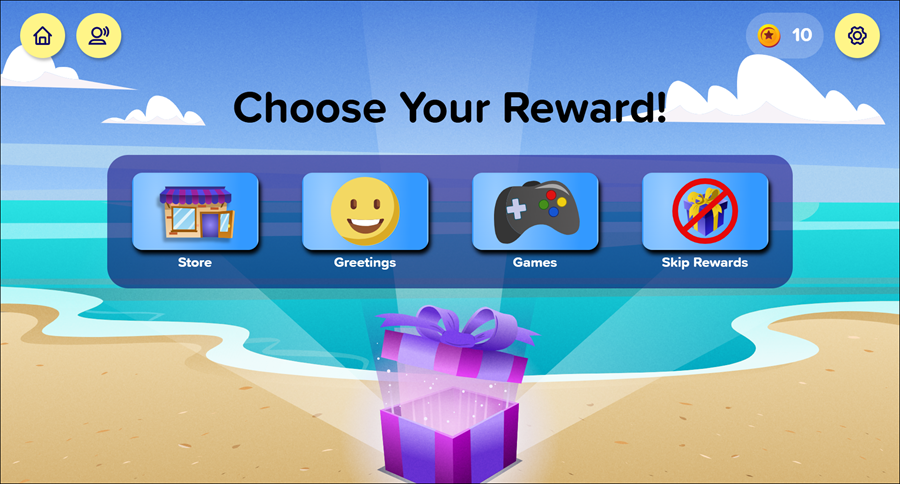
In the Store, they can use the Coins they receive as rewards for successfully completing Progress Knowledge Checks to purchase additional character and ship customization options in the Character and Ship Stores. Students can see how many coins they currently have in the upper right-hand corner of the screen.
Items refresh each time students enter the store, meaning different items are available for purchase on each visit. Only one item can be purchased at a time. In order to purchase additional items, students complete another topic and then choose Store from the Topic Rewards page.
Students can also use the store to access the Closet and change their character’s outfit or to access the Ship Lab and change their ship’s look without purchasing any additional items.
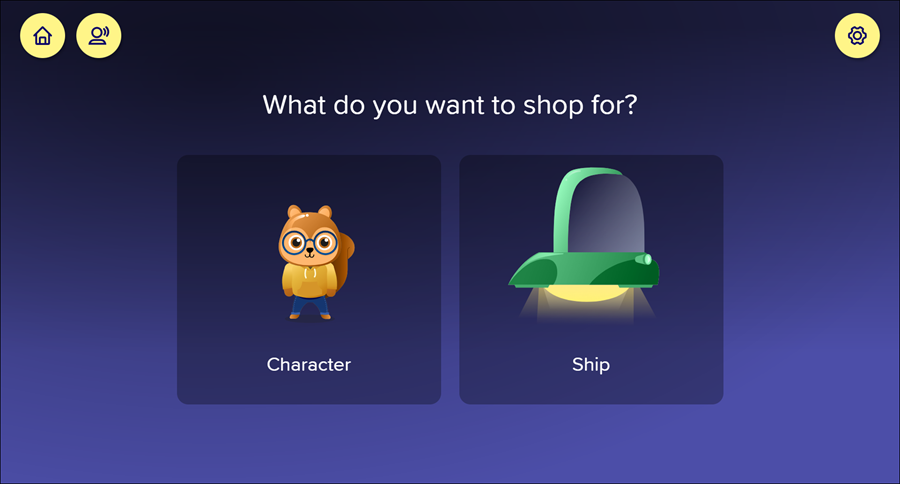
When students enter the Store, they have the option of selecting either Character to go to the Character Store or Ship to go to the Ship Store.
Character Store
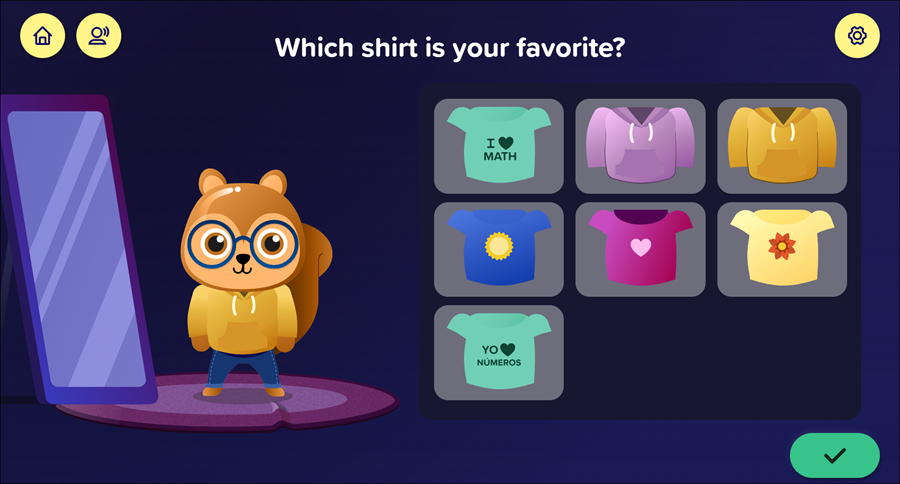
The clothing items available for purchase show up in the Character Store panel.
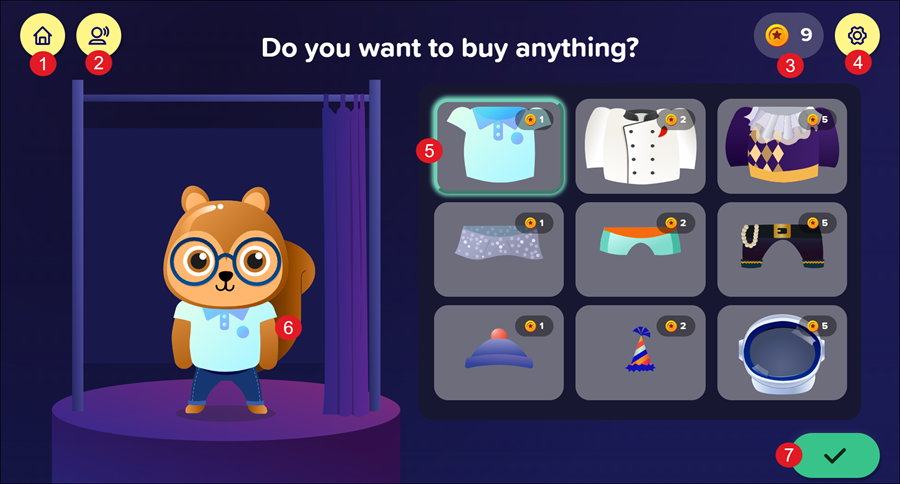
1. Home Button - Returns the student to the Homepage.
2. Replay Button: Replays the audio on the page.
3. Coin Amount: Shows how many coins the student currently has. If they select an item to try it on, the amount of coins shown in the Coin Amount decreases by the cost of the item, but the coins are not used to purchase the item until the student selects the Accept button. Only one item can be purchased at a time and students have to re-enter the store to purchase an additional item.
4. Settings Button: Opens the Settings panel where students can toggle buttons on and off to change their environment in ALEKS Adventure. The Settings button is available in the top-right corner of every page in ALEKS Adventure.
5. Selection Panel: Displays the purchase options for the character. Options that cost more coins than the student has appear greyed out with a lock icon over them and cannot be selected for purchase.
6. Current Selection: The student’s character appears wearing the currently selected item. If the student has not selected an item, the character is wearing the outfit the student chose before entering the Shop this session.
7. Accept Button: When selected, confirms the student’s purchase of currently selected customization option. The item is added to the student’s Closet and can be accessed whenever the student enters the closet. The student is brought to their Closet where they can decide to wear the item immediately or to change to a different outfit.
The student is brought to their Closet where they can decide to wear the item immediately or to change to a different outfit.
Students can still access the Closet from the Store even if they don’t purchase anything. To access the Closet from the Store, students first make sure any selected items are deselected either by selecting the refresh icon in the upper left-hand corner of the screen or by re-selecting a selected item so the turquoise border showing the item turns purple, and then selecting Accept. The character will be wearing the outfit they were wearing when students entered the store.
Ship Store
The ship parts available for purchase show up in the Ship Store panel.
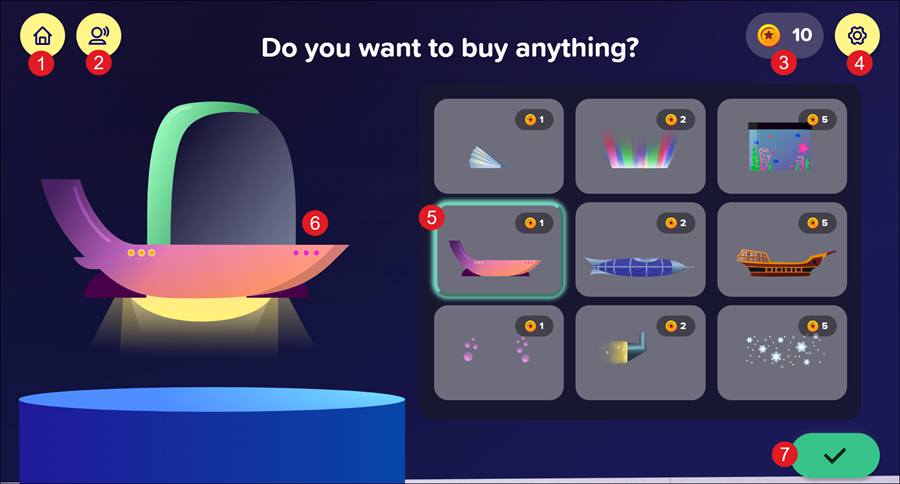
1. Home Button - Returns the student to the Homepage.
2. Replay Button: Replays the audio on the page.
3. Coin Amount: Shows how many coins the student currently has. If they select an item to try it on, the amount of coins shown in the Coin Amount decreases by the cost of the item, but the coins are not used to purchase the item until the student selects the Accept button. Only one item can be purchased at a time and students have to re-enter the store to purchase an additional item.
4. Settings Button: Opens the Settings panel where students can toggle buttons on and off to change their environment in ALEKS Adventure. The Settings button is available in the top-right corner of every page in ALEKS Adventure.
5. Selection Panel: Displays the purchase options for the ship. Options that cost more coins than the student has appear greyed out with a lock icon over them and cannot be selected for purchase.
6. Current Selection: The student’s ship appears with the currently selected item. If the student has not selected an item, the ship appears with the customizations the student chose before entering the Shop this session.
7. Accept Button: When selected, confirms the student’s purchase of currently selected customization option. The item is added to the student’s Ship Lab and can be accessed whenever the student enters the Ship Lab. The student is then brought to the Ship Lab where they can decide to keep the item on their ship or to change to a different item.
The student is then brought to the Ship Lab where they can decide to keep the item on their ship or to change to a different item.
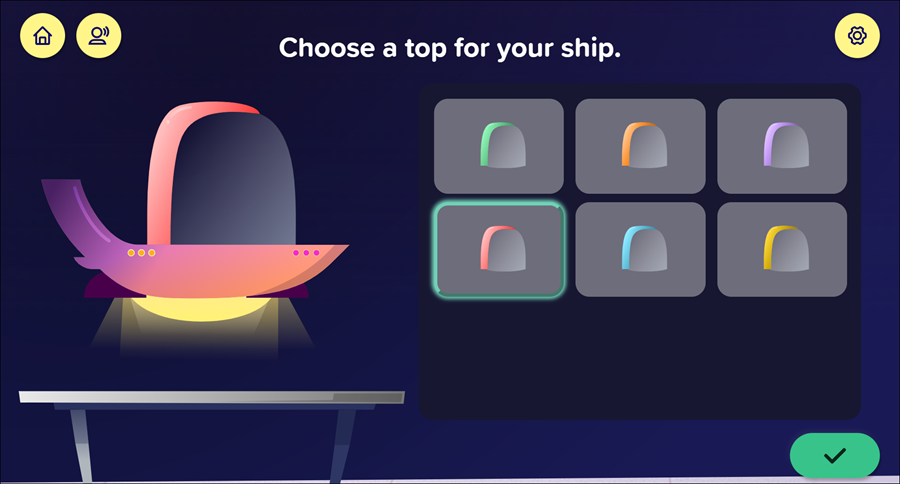
Students can still access the Ship Lab even if they don’t purchase anything from the store. To access the Ship Lab, they first make sure any selected items are deselected either by selecting the refresh icon in the upper left-hand corner of the screen or by re-selecting a selected item so the turquoise border showing the item is currently selected disappears, and then selecting the Accept button. The ship then appears as it did when before students entered the store.