Create and Edit an ALEKS Class
Create and edit ALEKS classes, including names, dates, and settings.
- Supplemental
- ALEKS Adventure
- Math
- SSO & Manual-Rostering
- Customer Support
- Direct Login & Auto-Rostering
- Middle School
- Class Management
- ALEKS
- Direct Login & Manual-Rostering
- High School
- Classroom Teacher
- SSO & Auto-Rostering
- PreK-12
- Getting Started & Orientation
- Back-to-School Setup


This article walks teachers through creating and editing a class for ALEKS on the McGraw Hill platform.
For a full page view of the demo, click here.
For a Spanish version of the demo, click here.
Article Contents
Create a New Class
1. SSO or sign in at my.mheducation.com.
If you're assigned to multiple schools, you will need to toggle to the school you want the class associated to.
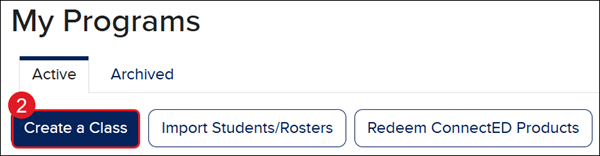
2. Click the Create a Class button.
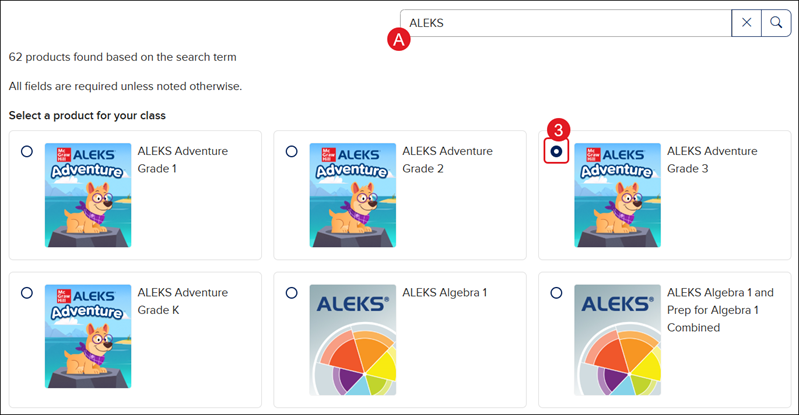
3. Select the radio button next to the program you need.
A. Use the search field to locate a specific program.
4. Click the Continue button at the bottom.
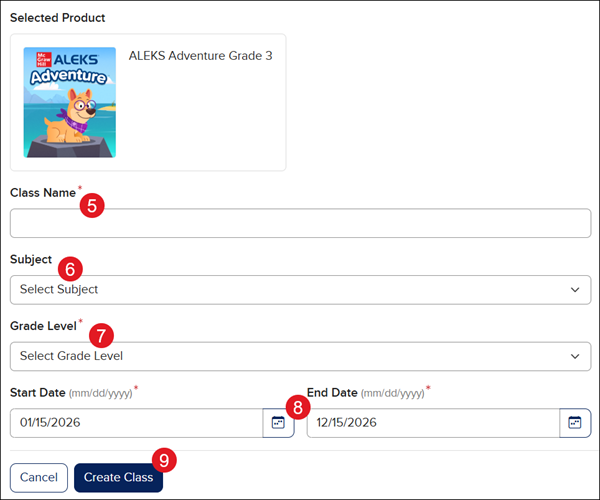
5. Enter a Class Name.
6. Select a Subject from the drop menu.
7. Select a Grade Level. This can be different from the grade level the students are assigned to.
8. Select a Start and End Date for the class.
Note: Students will be able to access the class three days before the selected start date. We suggest selecting an end date that is the last day of class or close to it.
9. Click the Create Class button.
Edit an Existing Class
1. SSO or sign in at my.mheducation.com.
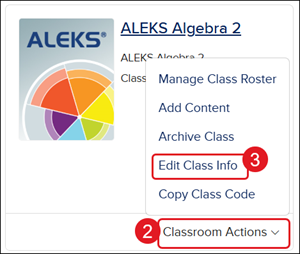
2. Click on Classroom Actions.
3. Click on Edit Class Info from the menu.
4. Make any preferred changes.
Note: If you need to select a new Start Date you have to create a new class.
5. Click the Save button.
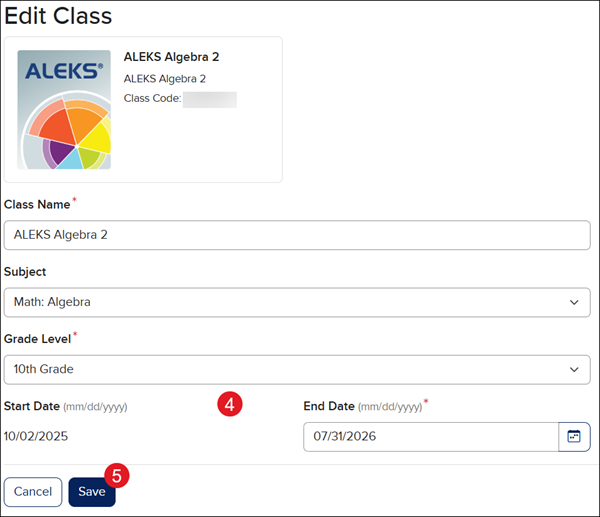
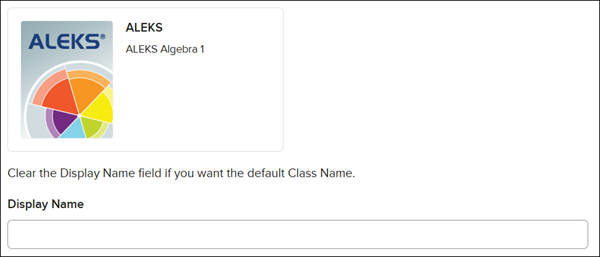
If you're associated with a managed district, for any classes created by your district that are active, you will only be able to change the Display Name for the class.
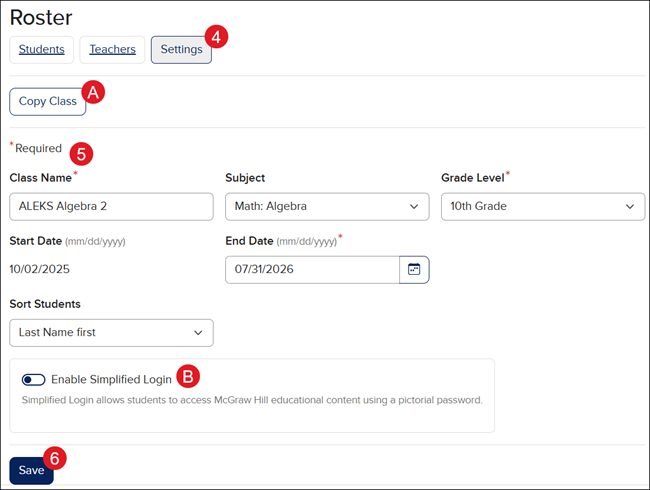
Edit Class Settings
1. SSO or sign in at my.mheducation.com.
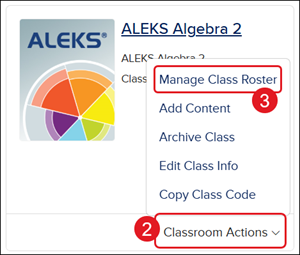
2. Click on Classroom Actions.
3. Click on Manage Class Roster from the menu.
4. On the Roster page, click the Settings button.
5. Make preferred changes.
A. For information on the Copy Class option, refer to the Copy Class article.
B. For additional information on enabling Simplified Login, refer to the Enable/Disable Simplified Login article.
6. Click the Save button.