Actively Learn - Create Quizzes
Build quizzes in Actively Learn to check student understanding.
- Supplemental
- Literacy
- Actively Learn
- SSO & Manual-Rostering
- Customer Support
- Online Assessments
- Social Studies
- Direct Login & Auto-Rostering
- Middle School
- Direct Login & Manual-Rostering
- High School
- Classroom Teacher
- SSO & Auto-Rostering
- PreK-12
- Science
- Preschool
- Elementary School


This article walks teachers through creating quizzes within Actively Learn.
There are two types of quizzes in Actively Learn: a standalone quiz and an assignment marked as a quiz. Unlike assignments, students will not be able to see the correct response after answering a question.
Unlike setting a due date for a regular assignment, students attempting to open assignments marked as or created as quizzes after the due date will NOT be able to view the assignment at all. Students will see a pop-up letting them know the due date for the quiz has passed, and will remain in the class page. This is helpful to prevent cheating from one period to another. Please reference our article on setting start and due dates for step by step instructions.
For steps on assigning a quiz to students, refer to the Actively Learn - Create Assignments article.
⇒ Article Contents (click here)
Share Quiz With Other Teachers
Tips on creating a great quiz:
- Aligning questions to learning objective - Students will always want to achieve the best grade. If questions are aligned with the learning objective, students who receive good grades are understanding what the teacher finds most important. If assessments are misaligned, good grades will not necessarily reflect understanding of the learning objective.
- Variety of questions - Having a variety of question types is important. Since multiple choice questions mainly test students ability to recall information, it is important to add short answer questions. Short answer questions will push students to show their ability to strategically think through and analyze text.
- Different levels of difficulty - Varying the difficulty can help determine where each student is at in their learning. This will help teachers identify which students are struggling with understanding the learning objective.
Mark Assignment as Quiz
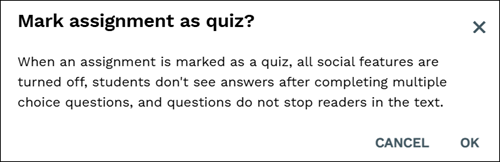
When an assignment is marked as a quiz, all social features are turned off, students don't see answers after completing multiple choice questions, and questions do not stop readers in the text.
1. Click on a text.
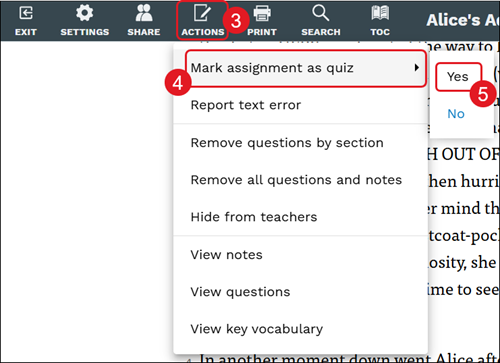
2. Click Actions in the toolbar.
3. Hover over Mark assignment as quiz in the menu.
4. Select Yes from the secondary menu.
6. On the pop-up, click the OK button to confirm.
Create a Quiz
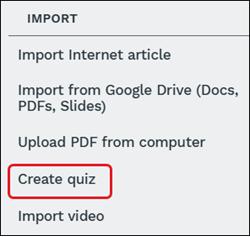
1. Click My Workspace & Imports (folder icon).

2. Under Import on the right side panel, click Create quiz.
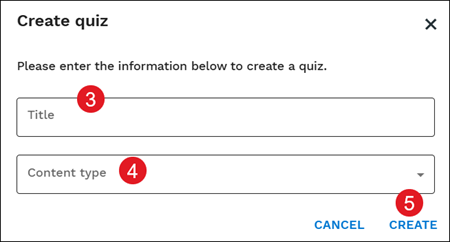
3. On the Create quiz pop-up, enter a Title.
4. Select the Content type from the drop-down.
5. Click the Create button.
The quiz will appear under My Workspace and the Imports options.

6. Click on the quiz tile.
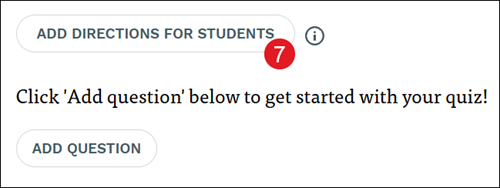
7. Click the Add Directions for Students button to add specific instruction for students to follow for the quiz.
Teachers can include learning objectives and instructions that will add context to what students are about to read and give them direction on what to look for while they read. These objectives allow students to more easily connect what they are doing in class and what they are supposed to learn.
Tips for adding directions for students:
- Context to fill knowledge gaps - If you are assigning a text about sports history, it would be important to go over the basic rules of the sport with your students.
- Key ideas or core concepts to look for while reading - If you are assigning text on motivational interviewing, you can list key skills for them to look for while reading. You might highlight such skills as: expressing and showing empathy, supporting and developing discrepancy, dealing with resistance, etc.
- Connect students’ prior knowledge - If you are about to teach photosynthesis, it would be helpful to go back over the parts of plants with your students.
A. Enter any preferred directions for students in the provided field.
B. Click the Add Media button to include images or URLs.
C. Click the Save button.

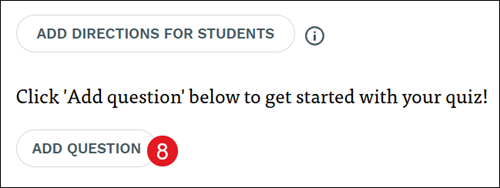
8. Click the Add Question button to add a new question to the quiz.
9. Enter the points value.
Poll questions are an unscored question type so it will not show a points value field.
10. Select the radio button for the question type.
11. Enter the question text.
If Multiple Choice, Poll, or Classifying was selected as the question type, choice text will also need to be added.
Also for Multiple Choice questions, answers can be mixed for each student by clicking the Randomize choices for students box.

12. Select a Depth of Knowledge level from the drop-down.
DOK levels reflect the complexity of a question, ranging from recall to extended thinking.
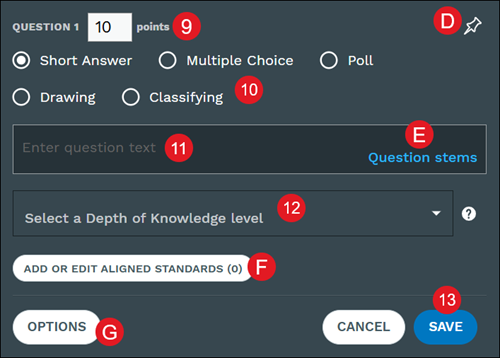
D. Click the pin icon to pin the question within the text.
E. Click the Question stems links for question text suggestions.
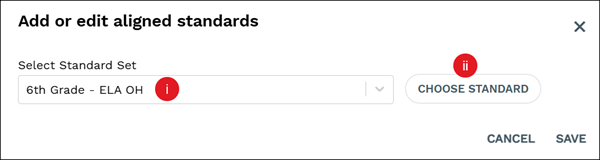
F. Click the Add or Edit Aligned Standards button to associate standards to the question.
On the pop-up, Select Standard Set (i) from the drop-down and click the Choose Standard (ii) button. Check the box next to the standards you would like to add and click the Done button at the bottom-right. Click the Save button to confirm associations.
Note: Depth of Knowledge and Add or Edit Aligned Standards is not an option for Poll questions due to those question types not being a graded question.
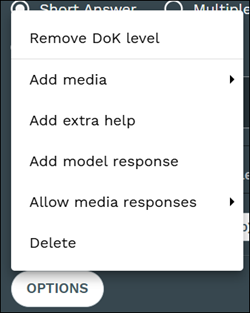
G. Click the Options button to Add media, Add extra help, Add explanation, Add model response, select to Allow media responses or not, or Delete the question.
The options available vary based on the question type selected.
13. Click the Save button.
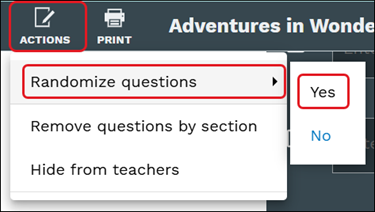
For standalone quizzes, questions can also be mixed for all students. This is a good option for preventing cheating on quizzes.
This can be easily done by clicking on Actions, hovering over Randomize questions, and selecting Yes.
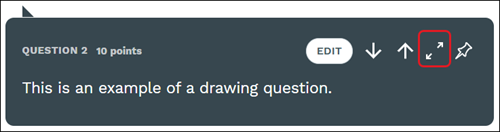
Click the up/down arrows on a question to move it's location within the quiz.
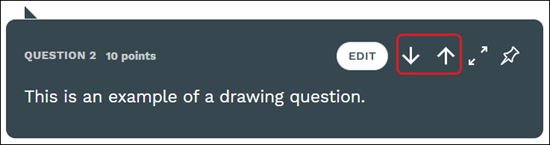
Click the diagonal arrows to expand the question.
Share Quiz With Other Teachers
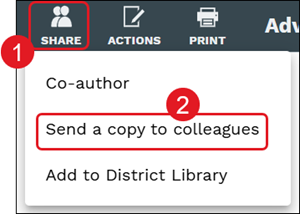
1. Click the Share button on the toolbar.
2. Click Send a copy to colleagues from the menu.
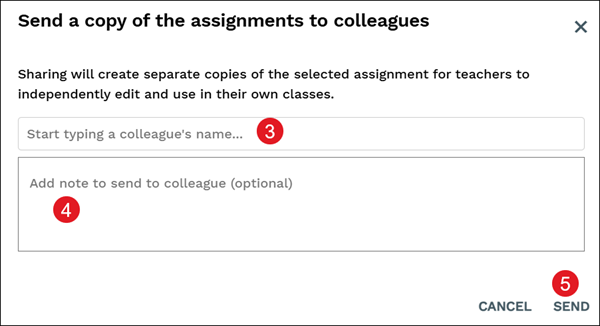
3. Enter a colleague's name.
4. Add note to send to colleague. This is optional.
5. Click the Send button.
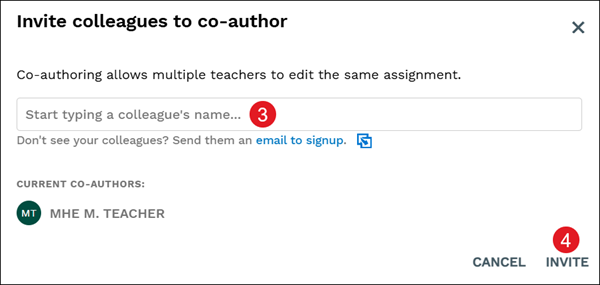
Add Co-Authors
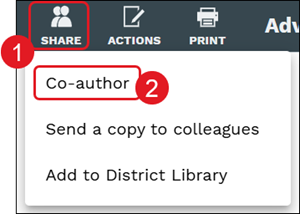
1. Click the Share button on the toolbar.
2. Click Co-author from the menu.
3. Enter a colleague's name.
4. Click the Invite button.
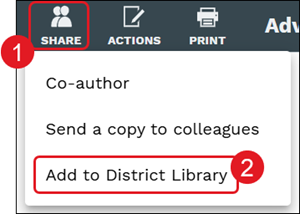
Add to District Library
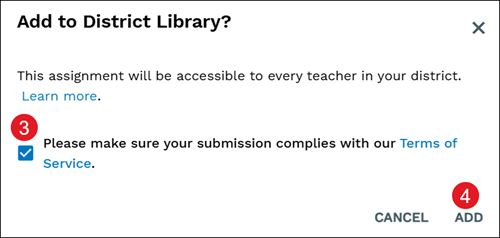
Adding the quiz to the District Library allows all teachers within the district to be able to access it.
1. Click the Share button on the toolbar.
2. Click Add to District Library from the menu.
3. On the pop-up, check the Terms of Service box.
4. Click the Add button.