Create and Manage StudySync Student Groups
Organize students into groups in StudySync to support collaboration and differentiated instruction.
- StudySync 2021
- Literacy
- SSO & Manual-Rostering
- Customer Support
- Direct Login & Auto-Rostering
- StudySync 2015 & 2017
- Middle School
- Core
- Class Management
- Direct Login & Manual-Rostering
- High School
- StudySync
- Classroom Teacher
- SSO & Auto-Rostering
- PreK-12


Groups and Sub Groups within StudySync allow teachers to create assignments for a targeted selection of students.
Note: The list you see under the Groups menu option includes Classes from Open Learning/ConnectED (indicated by ![]() ). Changes/edits cannot be made to Open Learning/ConnectED Groups unless done so from the main class page in Open Learning or ConnectED. However, to further break down the classes, you can create Sub-Groups with Students from your Open Learning/ConnectED classes.
). Changes/edits cannot be made to Open Learning/ConnectED Groups unless done so from the main class page in Open Learning or ConnectED. However, to further break down the classes, you can create Sub-Groups with Students from your Open Learning/ConnectED classes.
Topics covered in this article:
Create Sub Groups
Remove student from Sub Group
Add student to Sub Group
Edit Sub Group
To create Sub Groups:
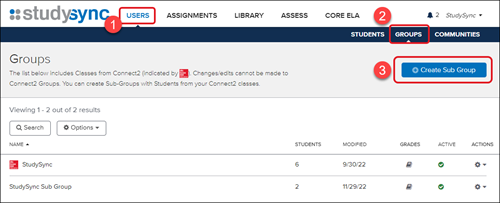
1. After launching StudySync, click on Users from the top menu.
2. Click on Groups from the second menu.
3. Click the Create Sub Group button.
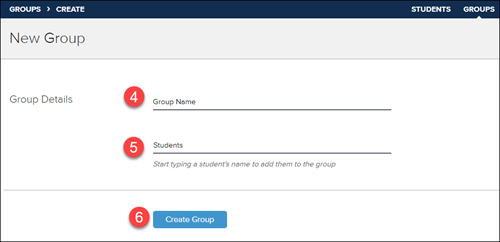
4. Create a name for the Sub Group.
5. Type in each student name you would like to add to the Sub Group. Click the student name from the pop-up. Continue to type in the student names you would like to add to the Sub Group until you have all students you would like to add.
- Additional students can always be added at a later time.
- If the student's name does not come up, this means they are not assigned to any of your classes. You will want to follow the steps found in the following article depending on the platform you use for StudySync: StudySync 2015/2017 - Class Creation and Rostering or Open Learning Platform - Class Management
6. Click Create Group.
The Sub Group will then be listed under the Groups menu option.
To remove a student from a Sub Group:
1. After launching StudySync, click on Users from the top menu.
2. Click on Groups from the second menu.

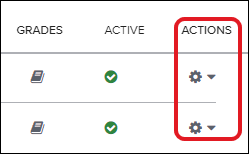
3. Click the Actions wheel to the right of the Group name.
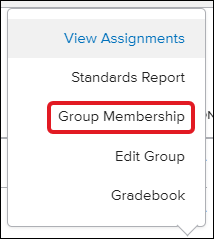
4. Click Group Membership.

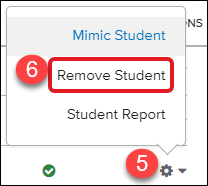
5. Click the Actions wheel to the right of the student's name.
6. Click Remove Student from the pop-up menu.
To add a student to a Sub Group:
1. After launching StudySync, click on Users from the top menu.
2. Click on Groups from the second menu.

3. Click the Actions wheel to the right of the Group name.

4. Click Group Membership.
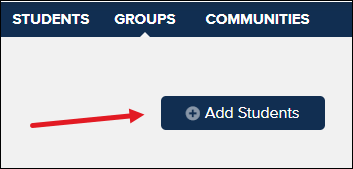
5. Click the Add Students button at the top-right.
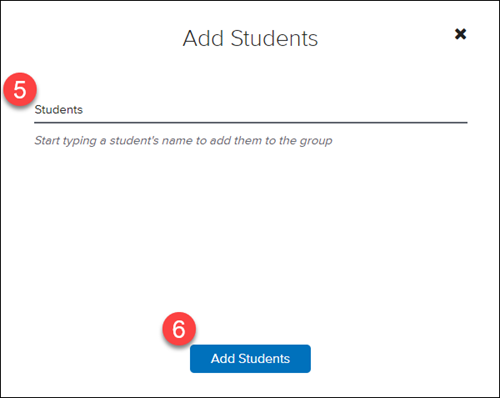
5. Enter the student name in the pop-up you wish to add to the group. Click their name when it pops up.
- If the student's name does not come up, this means they are not assigned to any of your classes. You will want to follow the steps found in the article depending on the platform you use for StudySync: StudySync 2015/2017 - Class Creation and Rostering or Open Learning Platform - Class Management
6. Click Add Student.
To edit Sub Group:
1. After launching StudySync, click on Users from the top menu.
2. Click on Groups from the second menu.

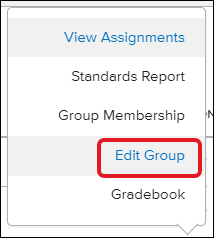
3. Click the Actions wheel to the right of the Group name.

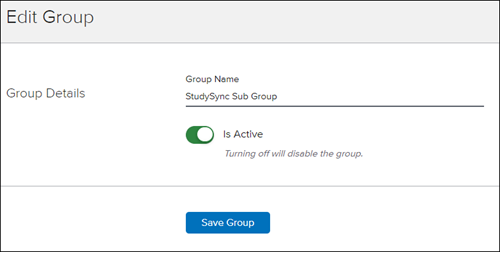
4. Click Edit Group.
5. Edit the Group name, if desired. You can also deactivate the Group from here as well by toggling the Active button off (so it turns gray).
6. Click Save Group.
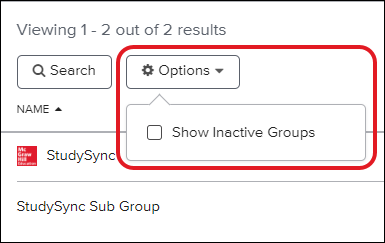
Inactive Groups can be viewed by clicking on the Options button from the Groups page and then putting a checkmark next to Show Inactive Groups.