Networks 2018 - My Discussions
Use the Networks teacher planner to organize lessons, assignments, and instructional pacing.
Tags
- Resources
- Getting Started & Orientation
- SSO & Manual-Rostering
- Customer Support
- Social Studies
- Direct Login & Auto-Rostering
- School Student
- Middle School
- Core
- Direct Login & Manual-Rostering
- High School
- Classroom Teacher
- Networks 2018
- School Parent
- SSO & Auto-Rostering
- PreK-12
- Preschool
- Elementary School


You can view a video here that will walk you through the steps mentioned in the document below.
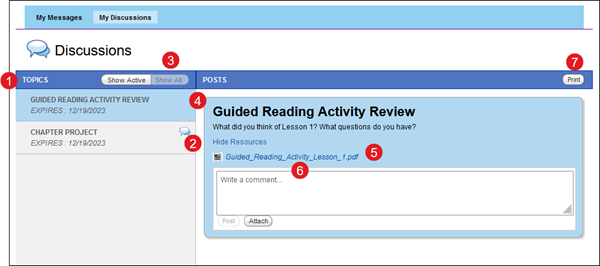
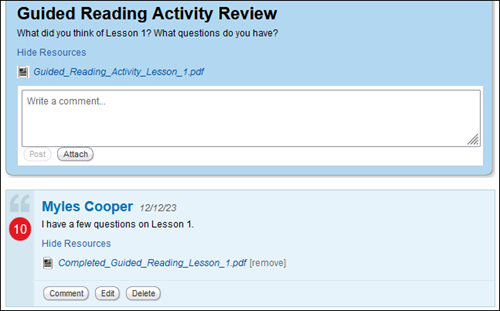
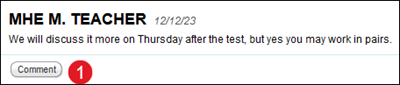
On the My Discussion page, your class has discussions related to the current lesson.
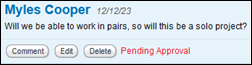
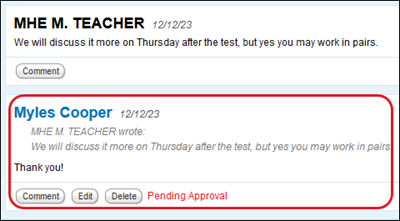
If you see a Pending Approval message, it means your teacher has to approve your post before
If you see an Approved message, your post has been approved, and everyone in the discussion can see it.
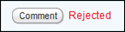
If you see a Rejected message, your post has been rejected by your teacher. You cannot edit it and no one in the discussion can see it.
What is covered in this article:
Access Discussions
Navigate the Discussions Page
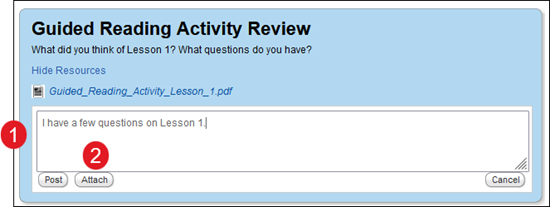
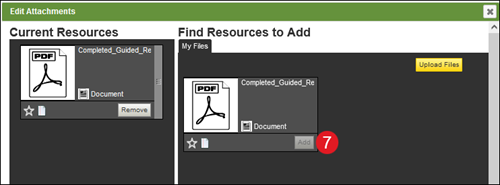
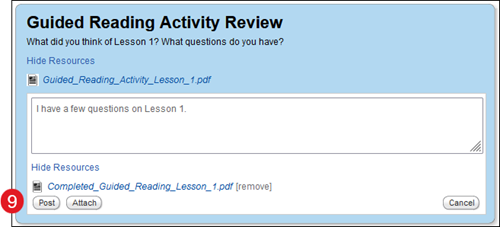
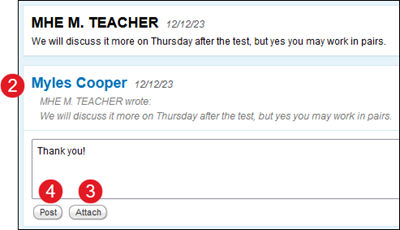
Create a New Post
Respond to a Comment