ConnectED - Make a New Assignment
Learn about connected make a new assignment in ConnectED.
- ConnectEd
- SSO & Manual-Rostering
- Customer Support
- iScience 2017
- Middle School
- Direct Login & Manual-Rostering
- Glencoe Algebra 1 2014
- High School
- Glencoe Algebra 1 2018
- Classroom Teacher
- SSO & Auto-Rostering
- Glencoe Science 2017
- PreK-12
- Elementary School
- World Languages
- Visual & Performing Arts
- Inspire Science 2017
- Math
- Asi se Dice 2016
- Health
- Getting Started & Orientation
- Glenoce Algebra 2 2018
- Grades & Assignments
- Glencoe Math Course 1
- Direct Login & Auto-Rostering
- McGraw Hill Health 2014
- Glencoe Math Course 2
- Glencoe Math Course 3
- Glencoe Science
- Core
- Core Plus Math 2015
- Glencoe Health 2014
- My Math 2013 & 2016
- My Math 2018
- Glencoe Algebra 2 2014
- Glencoe Math
- Science
- Preschool


This article walks teachers through creating an assignment for select ConnectED programs.
For a full page view of the demo, click here.
For a Spanish version of the demo, click here.
Article Content
From Assignment Tracker
1. Click Menu at the top-left of the page.
2. Click Assignment Tracker from the menu.

3. Click the +Make an Assignment button.

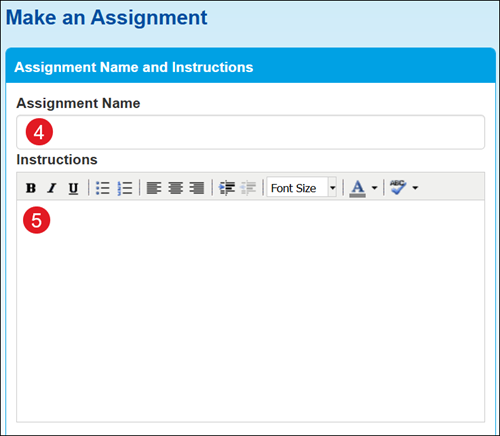
4. On the Make an Assignment page, enter an Assignment Name.
5. Enter any Instructions you want to provide the students.
6. Select a Start Date, Due Date, and Expiration Date.

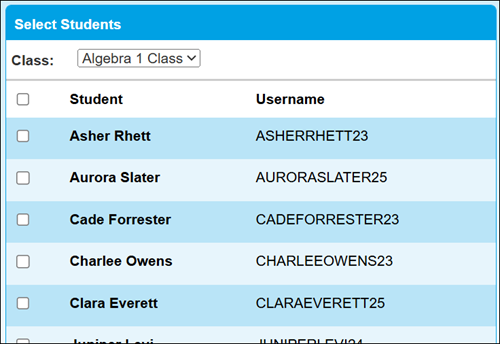
7. Select the Class and Students you want to assign the assignment to.
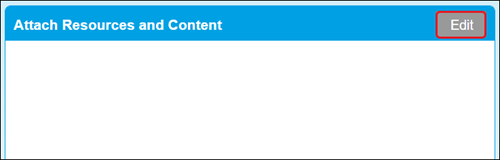
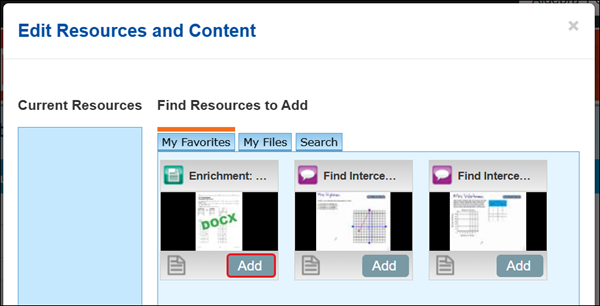
8. On the Attach Resources and Content box, click the Edit button.
9. On the Edit Resources and Content pop-up, click the Add button on the resources you want to add to the assignment.

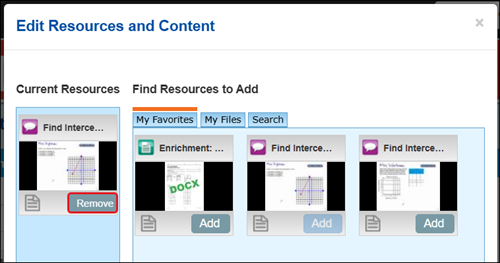
Click the Remove button for any resources you don't want to attach.

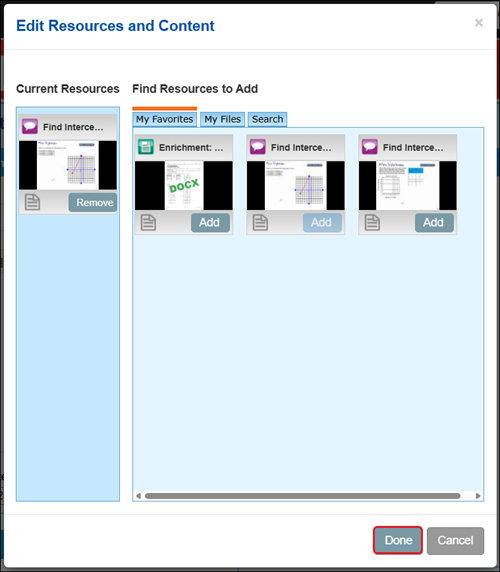
10. Click the Done button at the bottom once you've added all resources.

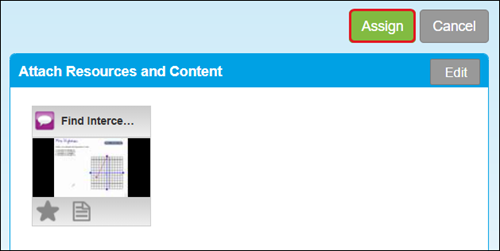
11. Click the Assign button.
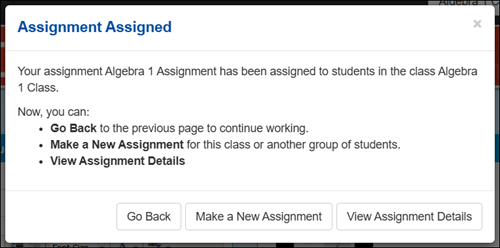
12. On the Assignment Assigned pop-up, click to Go Back to the previous page, Make a New Assignment, or View Assignment Details.

From Resources Page
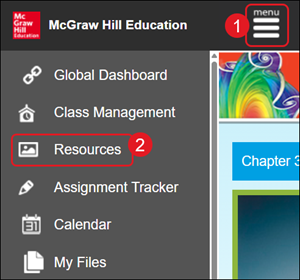
1. Click Menu at the top-left of the page.
2. Click Resources from the menu.
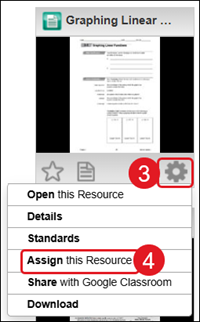
3. Click the Tools icon on the resource.
4. Click Assign this Resource from the menu.
5. On the Make an Assignment page, enter an Assignment Name.
6. Enter any Instructions you want to provide the students.

7. Select a Start Date, Due Date, and Expiration Date.

8. Select the Class and Students you want to assign the assignment to.

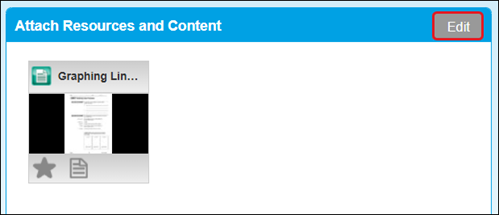
The resource will be automatically assigned to the assignment. Click the Edit button if you want to add additional resources.
If adding additional resources, on the Edit Resources and Content pop-up, click the Add button on the resources you want to add to the assignment.
Click the Remove button for any resources you don't want to attach.
Click the Done button at the bottom once you've added all resources.
9. Click the Assign button.

10. On the Assignment Assigned pop-up, click to Go Back to the previous page, Make a New Assignment, or View Assignment Details.