Create Classic ALEKS Master Templates
Instructions on how to create Master Templates for ALEKS grades 3-12.
- Customer Support
- PreK-12
- School Administrator
- Elementary School
- Direct Login & Auto-Rostering
- Direct Login & Manual-Rostering
- SSO & Auto-Rostering
- SSO & Manual-Rostering
- Supplemental
- Math
- ALEKS
- Class Management
- Tools & Resources


View the demo in a separate tab.
View the Spanish version of the demo.
A district or school administrator can create Master Templates to set up multiple classes with the same ALEKS Course Product. This saves time when adding/editing assignments, setting up resources, etc. Any changes made to the Master Templates will also update all linked classes. We recommend making any necessary edits before teachers begin linking classes to the Master Template. This article will walk through how administrators can create Master Templates at the district or school level for ALEKS on Open Learning.
1. SSO or log in at my.mheducation.com.
You may need to toggle between roles and organizations to get to your administrator tools.
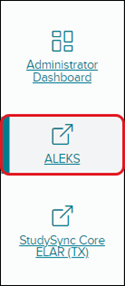
2. In the navigation menu, click the menu option for ALEKS.
You will only see this menu option if you are an Administrator and your organization has licenses for ALEKS on Open Learning.
3. Select an Institution if you want the template to be for a specific school only.
Otherwise, leave Institution blank. Leaving it blank will allow you to create the template at the district level.

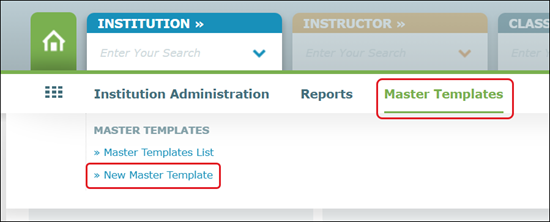
4. Hover over Master Templates in the navigation menu and select New Master Template.
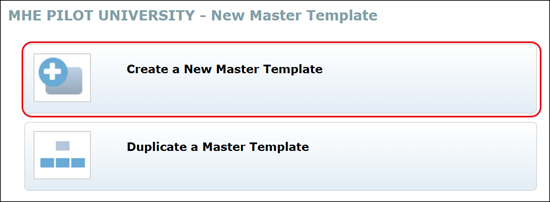
5. Click on Create a New Master Template.
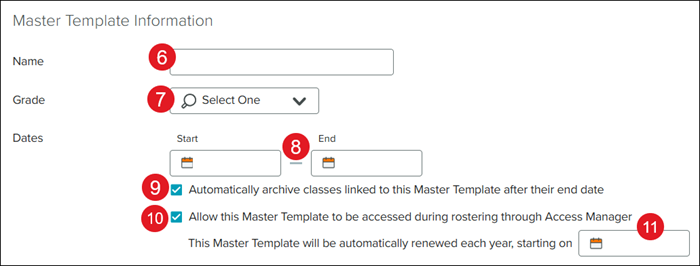
6. Enter a Name for the template.
7. Select a Grade level from the drop-down.
8. Select the Start and End dates for the template.
9. Check the box next to Automatically archive classes linked to this Master Template if you want the teacher's course to be archived the same date that is entered into the End date field.
10. For Auto-Rostering districts, to be able to assign the template through Access Manager, you MUST check the Allow this Master Template to be accessed during rostering through Access Manager box.
11. For Auto-Rostering districts, enter the date you want the Master Template to renew every year.
This MUST be selected if you checked the access accessed during rostering through Access Manager box (previous step).
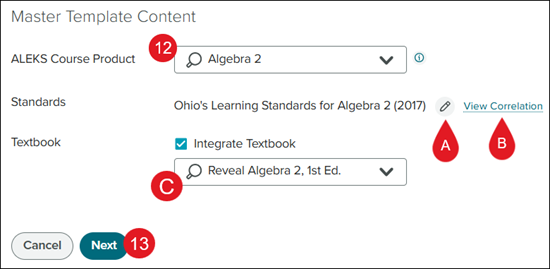
12. Select the ALEKS Course Product the template will be associated with.
For certain ALEKS Course Products, the Standards option will become available.
A. Click the pencil button to change the associated Standards.
B. Click the View Correlation link to view the standard correlations with the ALEKS material.
For certain ALEKS Course Product selections, you can also include the student textbook.
C. To include textbook access for the students, check the Integrate Textbook and select the book from the drop-down.
13. Click the Next button.
14. In the Incoming Students section, select the radio button to Carry Over Progress or Do Not Carry Over Progress for students that are assigned to the course.
These options apply ONLY to incoming students who have previously enrolled in another ALEKS class within the same course family or with the same course product.
New ALEKS students will be given the Initial Knowledge Check.
If Carry Over Progress is selected, check the box next to any additional options you want included in the template.
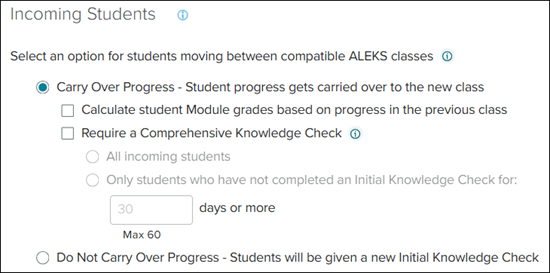
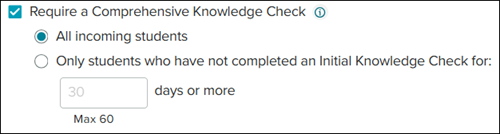
If Require a Comprehensive Knowledge Check is marked, you will want to select the radio button next to if you want all students to complete the Knowledge Check or only if they have not completed an Initial Knowledge Check after a certain number of days.
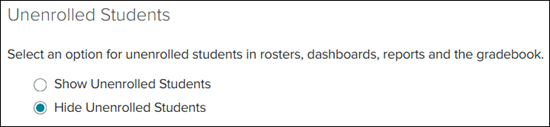
15. In the Unenrolled Students section, select the radio button to Show or Hide Unenrolled Students from rosters, dashboards, reports, and the gradebook.
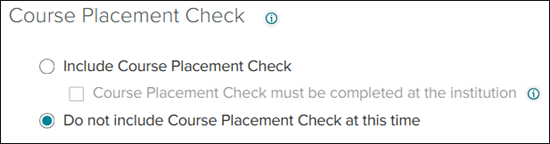
16. In the Course Placement Check section, click the radio button to Include or Do Not Include Course Placement Check. This option only shows for select ALEKS Course Product options.
The Course Placement Check helps instructors determine the appropriate course product for each student.
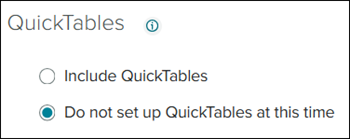
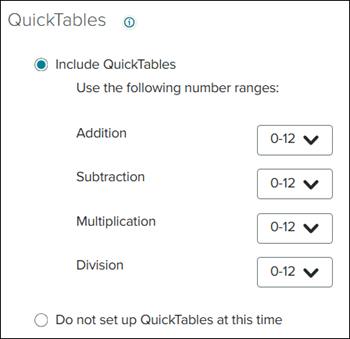
17. Select the radio button to Include QuickTables or Do not set up QuickTables at this time.
If you chose to Include QuickTables, select the number range for each section from the drop-down.
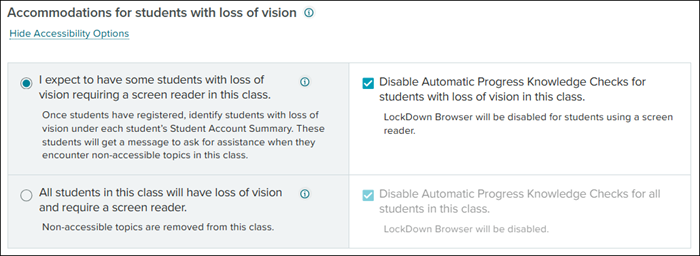
18. In the Course Specific Settings section, click the Show Accessibility Options link to expand the Accommodations for students with loss of vision options.
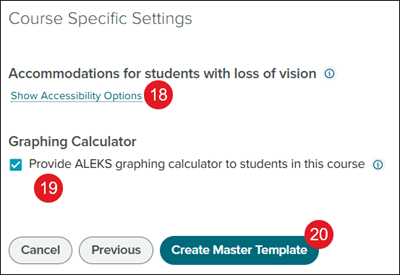
Select the radio button and check box for the needed selections.
19. For certain ALEKS Course Products, you have the option to include the Graphic Calculator.
Checking this box makes additional topics that require the use of a graphing calculator available. If this setting is unchecked, topics that require graphic calculators will be removed from the class.
20. Click the Create Master Template button.