Create a Sub-Class Using a Master Template in Classic ALEKS
Create an ALEKS sub-class using a Master Template for consistent course setup.
- Customer Support
- PreK-12
- Classroom Teacher
- Elementary School
- Middle School
- High School
- Direct Login & Auto-Rostering
- Direct Login & Manual-Rostering
- SSO & Auto-Rostering
- SSO & Manual-Rostering
- Supplemental
- Math
- ALEKS
- ALEKS Adventure
- Class Management


View the demo in a separate tab.
View the Spanish version of the demo.
Teachers using ALEKS on Open Learning can create sub-classes using a district or school-level Master Template. If your district or school administrator has created a Master Template, you can follow these steps to add a sub-class using the new Master Template.
1. SSO or log in at my.mheducation.com.
2. Create and roster an ALEKS class.
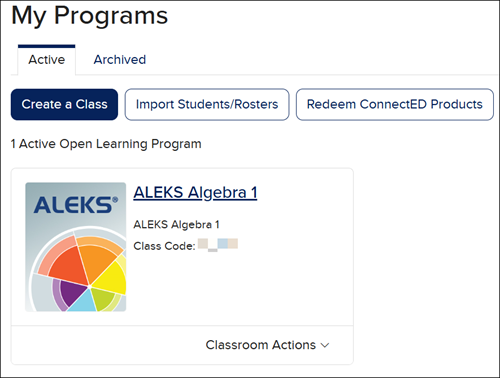
3. From My Programs, click the ALEKS icon or the class name to launch into your ALEKS program.
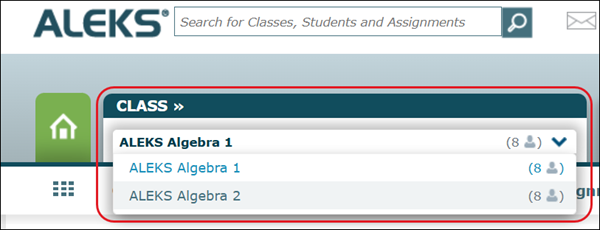
4. If you have more than one primary class created, click on the Class drop-down and select the class you want a subclass for.
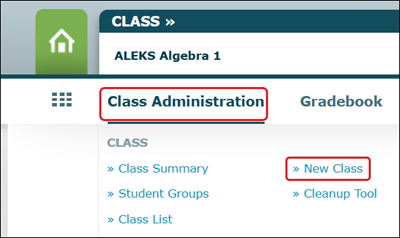
5. Hover over Class Administration, then click the New Class option from the menu.
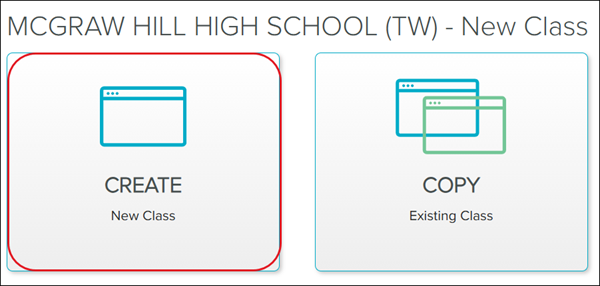
6. Click on the Create New Class button.
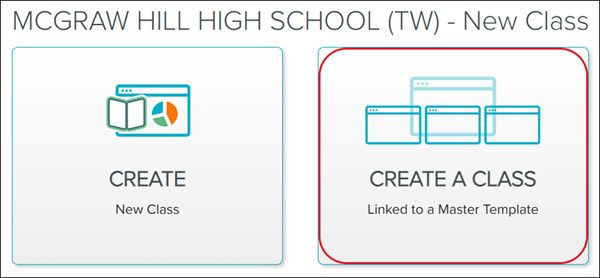
7. Click on Create a Class Linked to a Master Template.
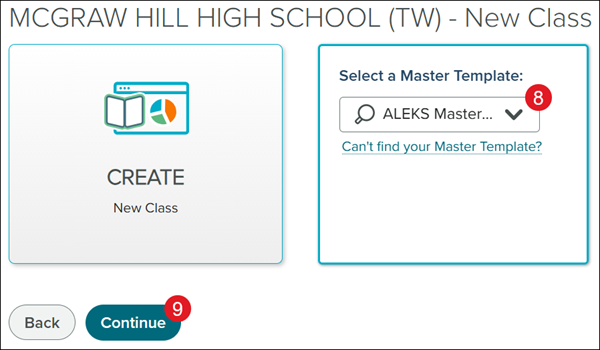
8. Select a Master Template from the drop-down.
Note: Only one sub-class per primary class can be linked to a given Master Template. Additional sub-classes under the same primary class may be linked to Master Templates, but each Master Template must be unique.
9. Click the Continue button.
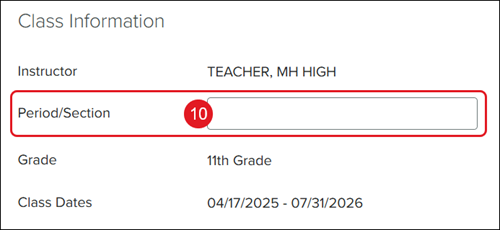
10. Enter a Period/Section.
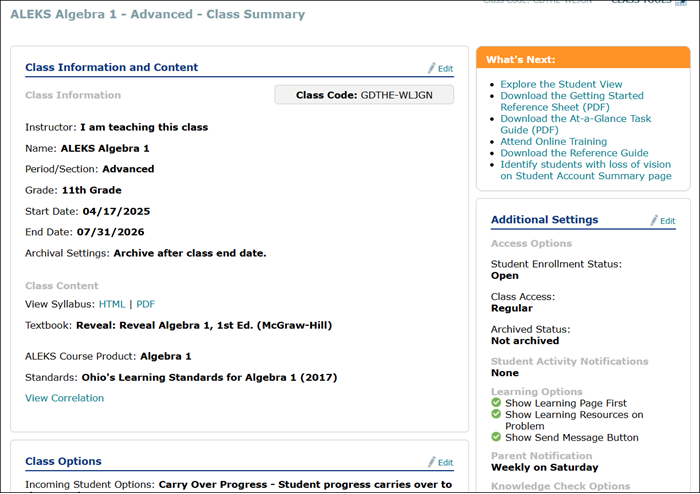
The Class Information and Class Content will be auto-populated based on the Master Template selected.
11. Click the Create Class button at the bottom.
To move students to the sub-class, refer to the Move Students to a Sub-Class in Classic ALEKS View article.
You are now able to make adjustments to the Class Summary options. However, for some settings, due to the class being linked to a Master Template, those settings will be overwritten by the Master Template.