Access and Use the Actively Learn Annotation Tools in Lessons
Explore annotation tools that support close reading in Actively Learn.
- Customer Support
- PreK-12
- School Student
- School Parent
- Elementary School
- Middle School
- High School
- Direct Login & Auto-Rostering
- Direct Login & Manual-Rostering
- SSO & Auto-Rostering
- SSO & Manual-Rostering
- Supplemental
- Literacy
- Science
- Social Studies
- Actively Learn
- Student Resources
- Grades & Assignments
- Online Assessments


Students have annotation tools available to them that can be accessed by highlighting a portion of the text which will then bring up a menu to select from or by clicking the Add Note option within a video assignment.
Article Contents
Highlight and Take Note for Text Assignments
Add Note for Video Assignments
Highlight and Take Note for Text Assignments
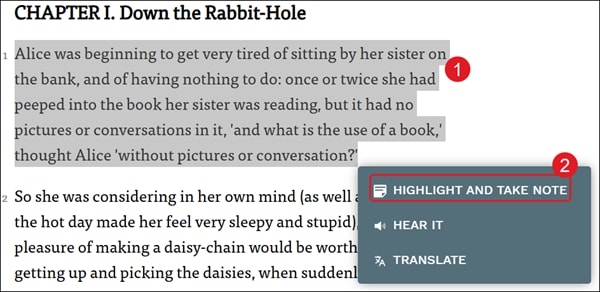
1. Highlight the text you want to attach a note to.
2. Click HIGHLIGHT AND TAKE NOTE from the menu.
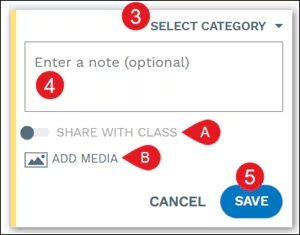
3. Click the Select Category drop-down and select an option from the menu.
The highlight color will change based on the category selected.
4. Enter a note in the provided field. This is optional.
The text will highlight based on the category selected even if a note is not added.
A. Click the Share with Class toggle to share your note for the selected text with the rest of the class.
B. Click the Add Media option to upload an image or URL.
5. Click the Save button.
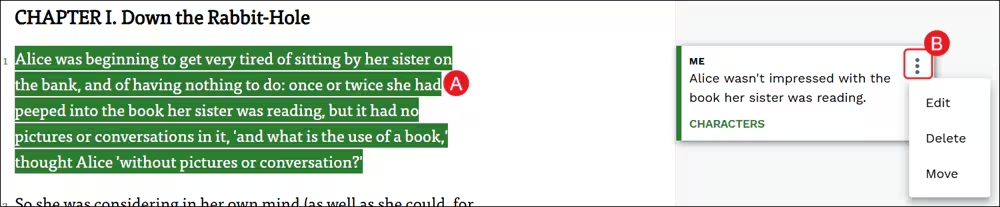
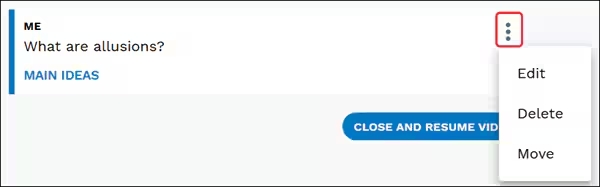
The note will be available in the Notes panel. To Edit, Delete, or Move the note, click on the highlighted text (A) and then click on the kebob icon (B) to open the menu for the note.
Students can respond to notes shared with them by other classmates and/or the teacher by clicking on the note, entering their reply, and clicking the Reply button.
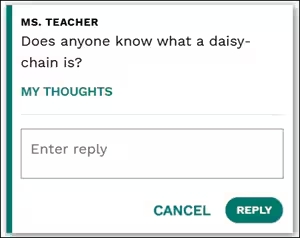
Students also have the ability to tag their teacher or other students when sending a reply to a note by using the "at" @ symbol within the note reply.
Student can only tag other students within a reply if it's a public note and can tag a teacher in a private or public note.

Clicking the Hide Peer Notes button (A) will hide all notes shared by other students with the class. Click the Collapse/Expand button (B) will open and close all peer notes at once.

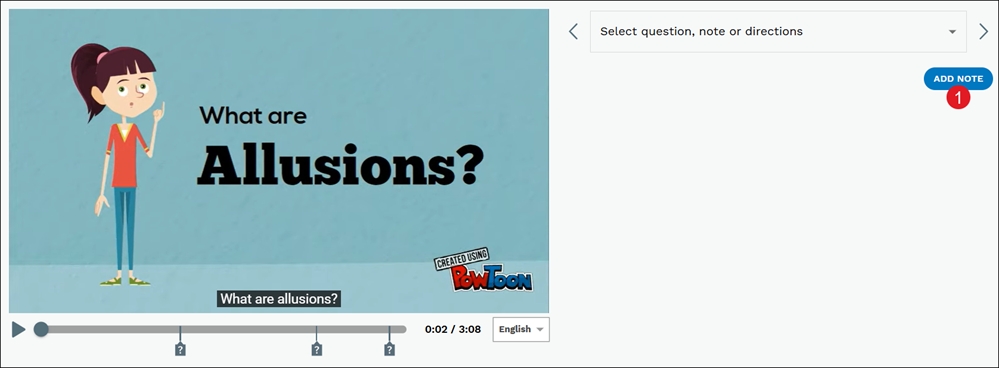
Add Note for Video Assignments
1. As the video plays, click the Add Note button below the drop-down to the right of the video. The video will pause when the button is clicked.
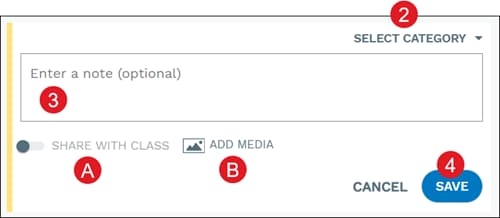
2. Click the Select Category drop-down and select an option from the menu.
3. Enter a note in the provided field. This is optional.
A. Click the Share with Class toggle to share your note for the selected text with the rest of the class.
B. Click the Add Media option to upload an image or URL.
4. Click the Save button.
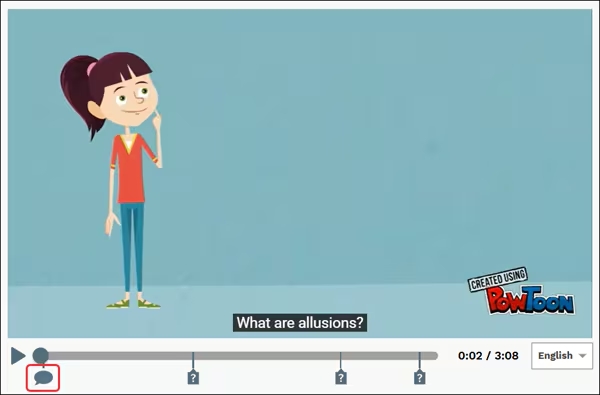
The note will show as a speaker bubble on the video play bar. While playing the video, when it comes to a point in the video that a note is attached, it will pause the video until the student selects to continue watching.
If a note was added, but nothing in the note field was entered, it will go past that added note without pausing.
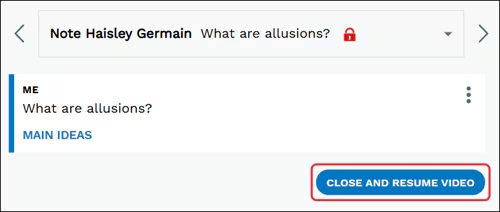
Click the kebob icon on the note to Edit, Delete, or Move the note.
Click the Close and Resume Video button to continue viewing the video and have the option to add more notes.
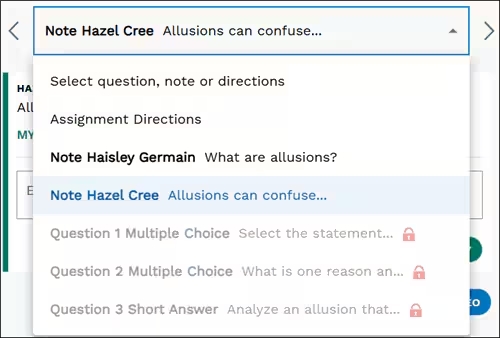
Notes shared by the teacher or classmates can be viewed by clicking on the drop-down menu.
View All Notes
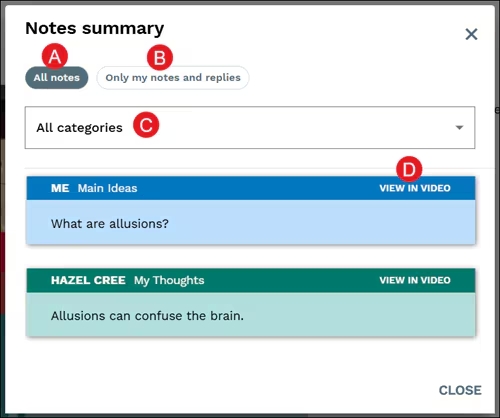
Students can view a summary of all the notes that they created as well as any notes that were shared by other classmates and the teacher. The notes can also be printed if needed.
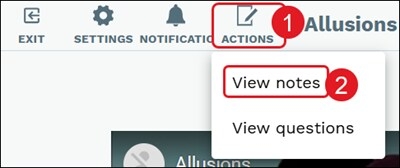
1. Click the Actions button on the toolbar.
2. Click View Notes from the menu.
A. All notes shows a summary of all notes that were written by the student and those shared by other classmates and the teacher.
B. Only my notes and replies provide a summary of only the notes created by the student and the replies they provided for any notes shared with them.
C. The notes can be viewed by the different categories assigned to them.
D. Click the View in Video or View in Text link to navigate to where the note is located.