Connect - Sharing files with students using My Files
Share files with students using the My Files feature.
- Higher Ed Student
- Higher Education
- Customer Support
- Connect
- Course Management
- Instructor


Instructors can upload files to Connect and share them with students. Each instructor's account has a total storage space of 20GB. When files are uploaded, they become private by default and are not available to students. To upload and share a file, follow the steps below.
Note: If you are looking for a tutorial on how to attach files to an assignment, click here.
You can upload your own files to the Library using the my files (A) link in the Library menu.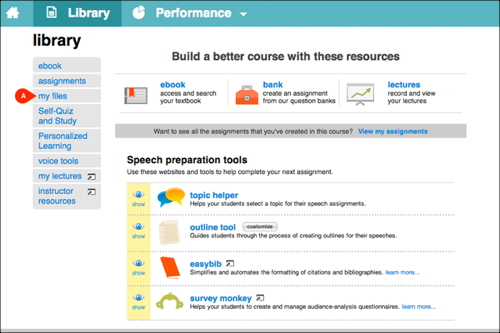
To upload a file click the upload files… button (A).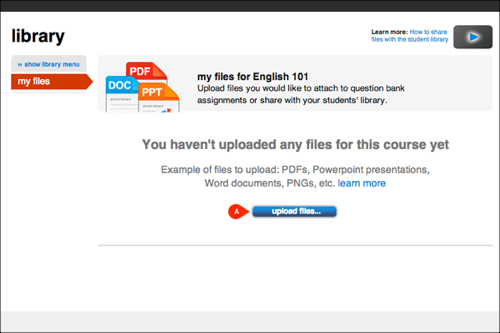
Click Browse (A) and locate the file on your computer. Click upload (B) and Connect will begin uploading your file.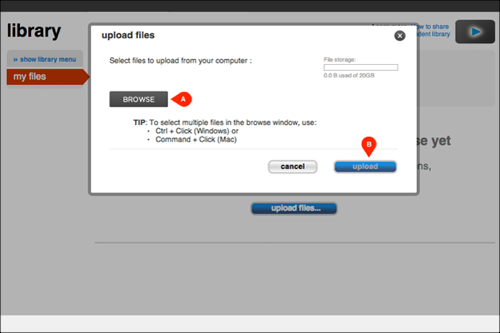
Once uploaded, the file will appear in the my files list. The default setting will hide it from your students’ view. Click the “eye” icon (A) to “show” the file to your students. Remember to do this for each file you want visible in your students’ library. A confirmation message appears when you show or hide a file from your students’ library.
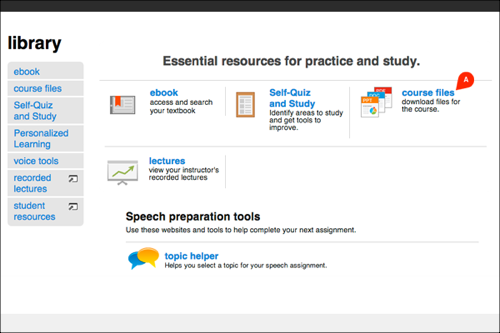
Students will receive a notification in the message center (A) on the home tab. Students can click this message or go directly to the library tab (B) to view the shared files.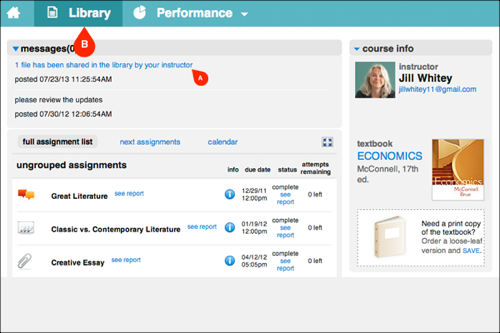
Once students are in the library, clicking course files (A) will display the files you’ve shared. Students will need to click the file name to open the file you’ve shared.