Connect Media Services - How to Record or Upload New Media
Analyze class performance using the ALEKS Adventure admin pie report.
Tags
- Higher Ed Student
- Higher Education
- Customer Support
- Connect
- Instructor


.
Connect Media Services
How to Record or Upload New Media
This article will walk you through the basics of:
- Installing the Required GASPAR Screen Recorder Extension (This is a one-time process)
- How to Record New Media
- How to Upload New Media from an Existing File
Switch your Connect Interface to the New Experience
To access your media area you must be in the Connect New Experience:
- Access Connect in the usual way
- From the Course Page, or from within a section, locate the switch in the blue banner at the top of the page
- Move the switch to the Right

Pre-recording Recommendations:
- Check your preferred peripherals are connected before recording:
- Microphone
- Webcam
- Perform a 2-minute practice recording to ensure your peripherals are working as expected
- Consider your recording time before starting a recording. 20 to 45-minute chunks are recommended to help retain student attention
- Open your materials such as PowerPoint, Excel, etc before launching the recorder to ensure fluidity
- Try to avoid background noise and speak in a clear natural tone. This will help if you decide to auto-generate captions at a later time.
- Allow pop-ups or add an exception for https://connect.edu.mheducation.com/
This is a one-time process on your first recording.
- Access the Connect section where you wish to record or upload media
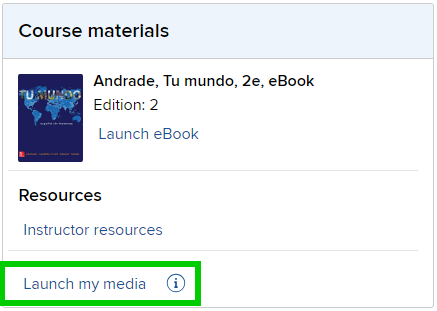
- Scroll down the Dashboard page to locate Course materials on the lower right-hand side and click "Launch my media"
- Click "+ Add New Media"
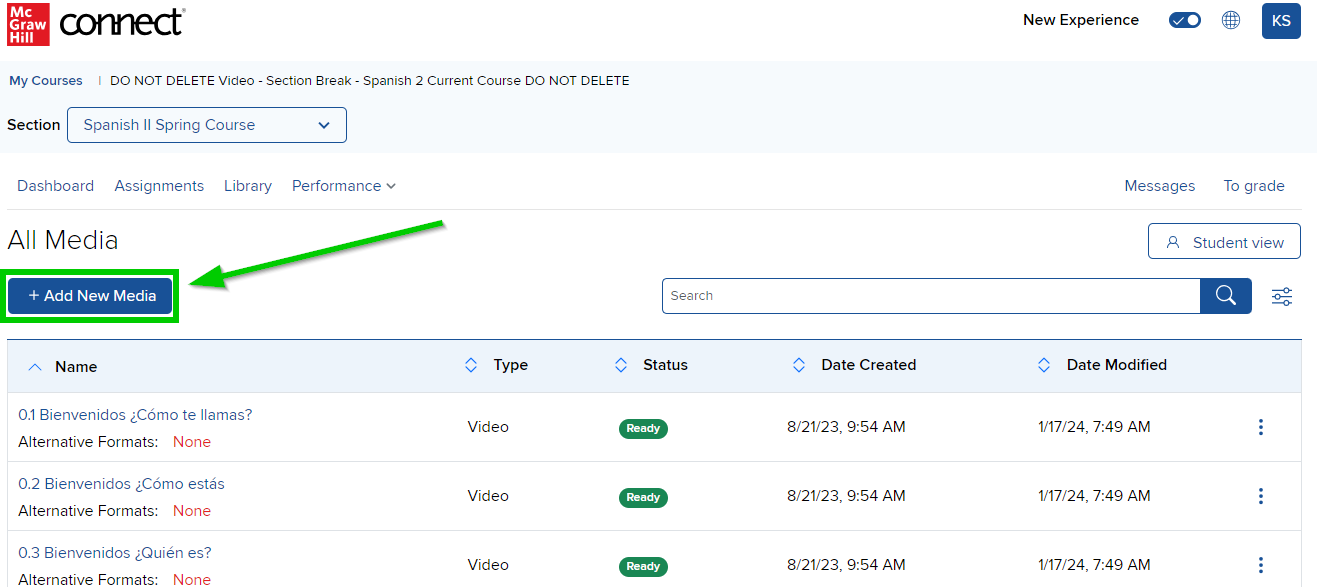
When you have recorded or uploaded media in the section it will be presented on this page, as above.
- When the page loads, you can select to:
- Record new media
- Upload media file
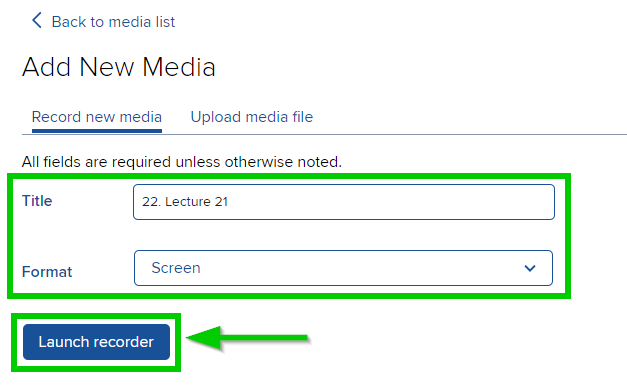
- You may name your recording at this stage by entering a Title, or you may edit and rename the Title later when the recording is completed
- Click the dropdown to the right of "Format", and select which format you wish to record.
- Audio only
- Camera
- Screen
- Screen and camera

NOTE: if you selected Camera, Screen, or Screen and camera audio is also recorded.
- Click "Launch Recorder
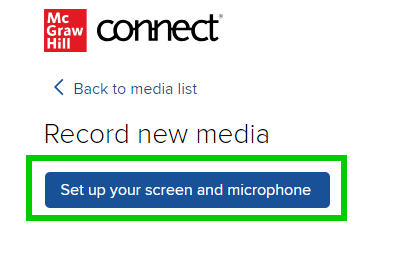
- Click "Set up your screen and microphone"
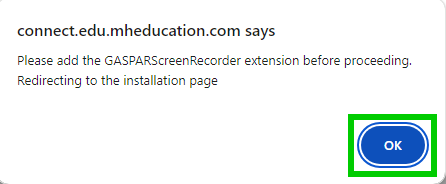
- On your first recording you will be presented with a pop-up window requesting you to add the GASPAR screen recorder, click "OK"
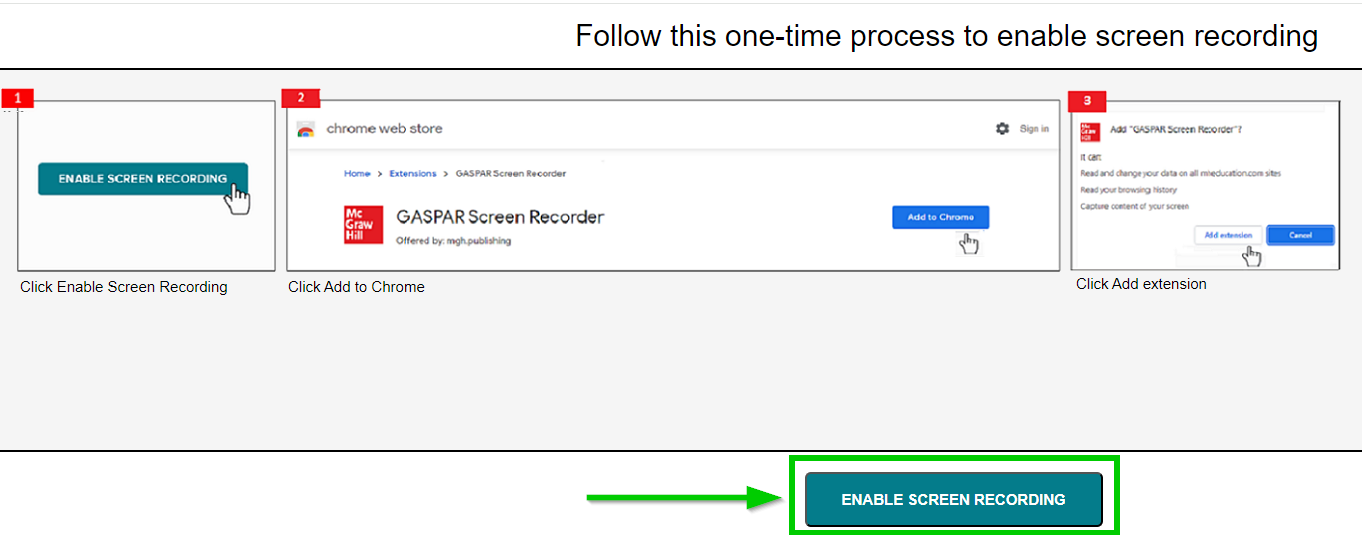
- On the next page, click "ENABLE SCREEN RECORDING"
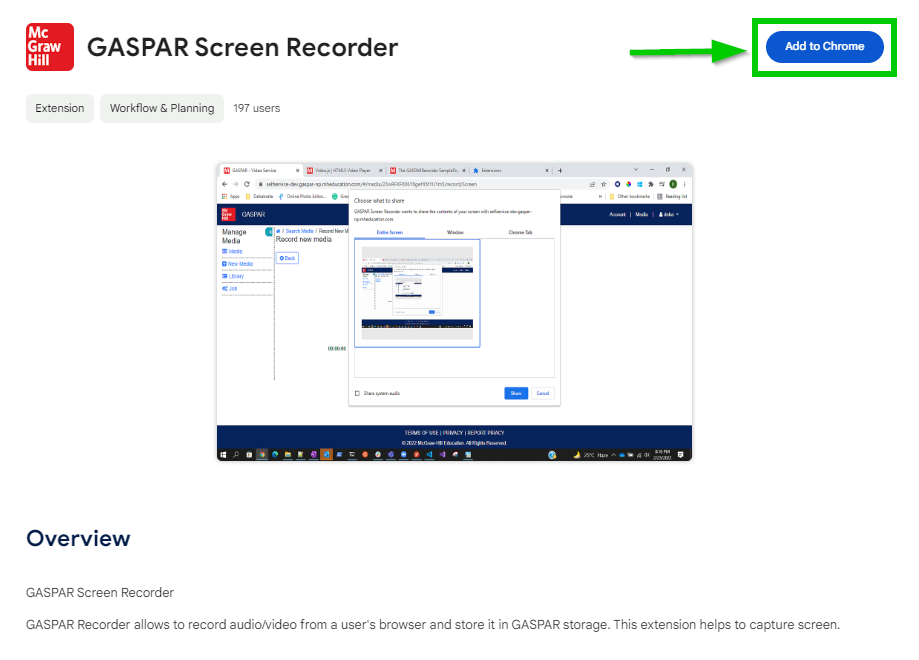
- On the next page, click "Add to Chrome"
- Click "Add Extension"
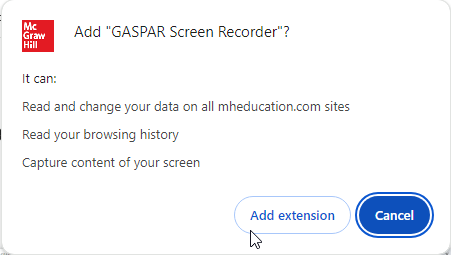
- You will receive a confirmation the Extension has been added to Chrome
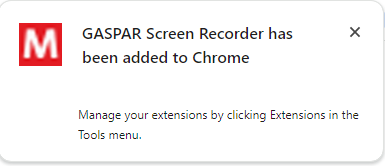
You may close the Extension installation tabs and navigate back to your Connect section.
Back to Top
__________
_____
_____
Please ensure the
GASPAR recorder extension is installed before attempting to record.
To record new media:
To record new media:
- Navigate to your All Media page
- Click "+ Add New Media"
- Add a "Title" if you wish to do so at this time
- You may edit the title later if you prefer
- Select which "Format" you wish to record, we will use "Screen" here
- Click "Launch recorder"
- On the next page, click "Set up your microphone and camera"
- In the next window, you have options to choose what to record:
- Entire Screen
- Window
- Chrome Tab
- Selecting "Entire Screen" is recommended if you will be sharing multiple sources such as PowerPoint, Excel, and Browser during the lecture.
- Select the screen to be recorded and click "Share"
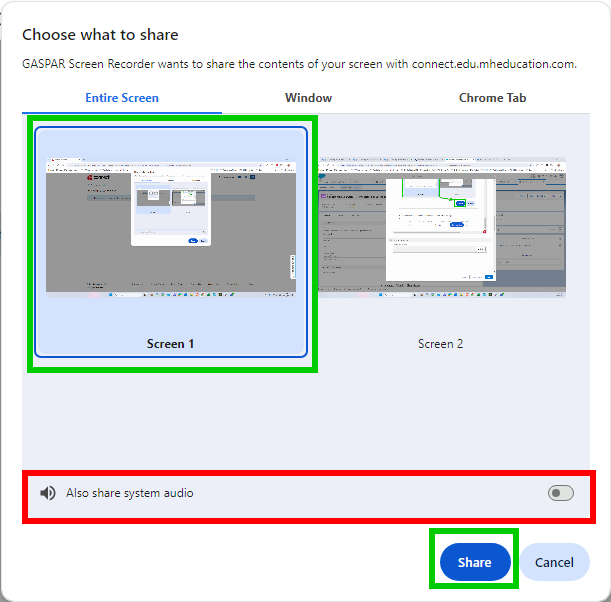
Please Note: Google Chrome will add a switch "Also share system audio" (as above), we recommend not using this browser feature as it may compromise your microphone audio.
- GASPAR will start to record and the recorder toolbar will be displayed
- You may drag and drop this toolbar anywhere on your screen

- The media page will display:
- A preview of what is being recorded
- Pause button
- Reset button
- Stop button
- Recommended Minimum and Maximum times
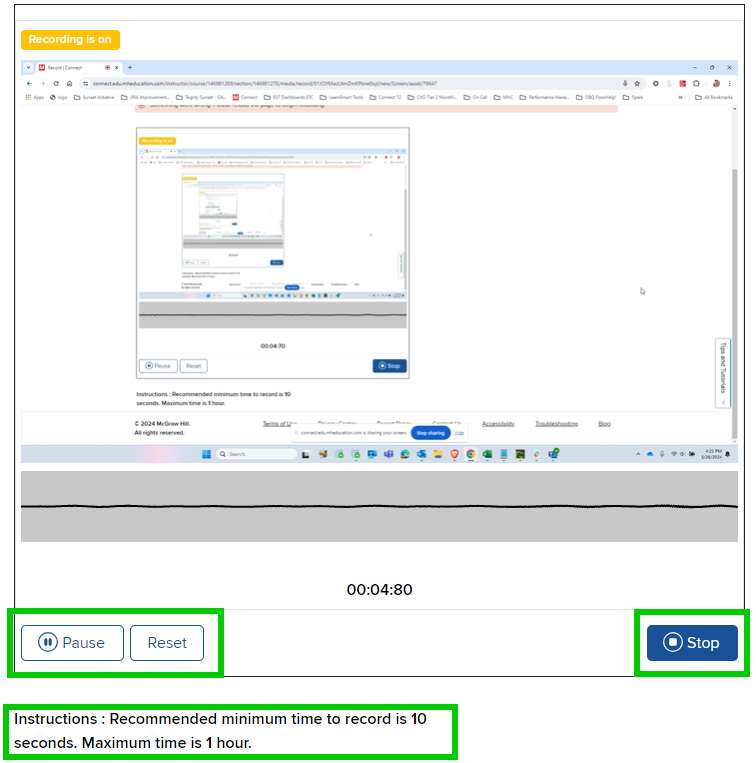
NOTES:
- The "Maximum time is 1 hour" recording time is browser-based as most browsers will not record for more than an hour. There are no MHE restrictions on the length of your recordings.
- Consider your recording time before starting a recording. 20 to 45-minute chunks are recommended to help retain student attention
When you have finished recording, click Stop, click
Save.
Your recording will Transcode and upload automatically, the length of time it takes to be "Ready" depends on the length of the recording and your internet bandwidth.
When the "Status" displays "Ready" the recording Title may be updated if you did not enter a Title at the beginning. You will be able to share your media with students from within or outside of Connect depending on your requirements.
Review this article for options for sharing with students: Connect Media Services - How to Share Media with Students
__________
_____
_____
- Access the Connect section where you wish to upload an existing media file from your device
- Scroll down the Dashboard page to locate Course materials on the lower right-hand side and click "Launch my media"
- Click the "+ Add New Media" button
- Click the "Upload media file" tab

NOTE: if you only require the audio from the file, check the box for "Audio only (optional)"
- Click "Attach File" to open the file navigator
- Browse to the folder where your media file is saved and click the required file once
- Click "Open" from the navigator window
- The name of the source file will populate the Title box, and the "Upload" button will become active
- If you wish to rename the media you may do so now or you may rename it after the media Status is "Ready"
- Click the "Upload" button to complete the process
- The time it takes for the media to become Ready depends on the size of the file and your internet bandwidth.
- You may upload multiple files in a session, you do not need to wait for one file to become Ready before uploading the next.