Connect - Deploy Assignments to Brightspace
Learn how instructors deploy Connect assignments to Brightspace.
Tags
- Higher Education
- Customer Support
- Connect
- Instructor


1. Here we’ll explain how to deploy (send over) assignments from Connect into Brightspace so that your students can access them directly from their Brightspace course.
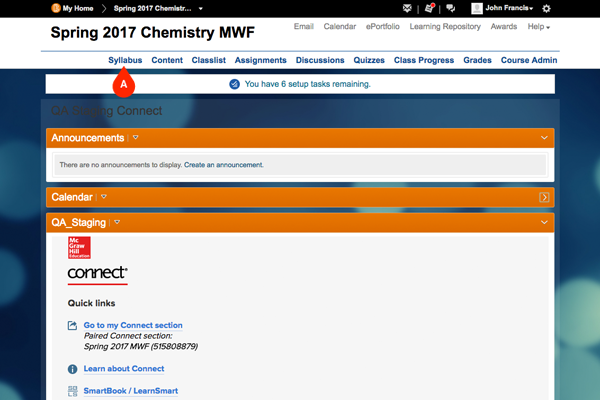
In Brightspace, find the desired course. Then click Syllabus (A).
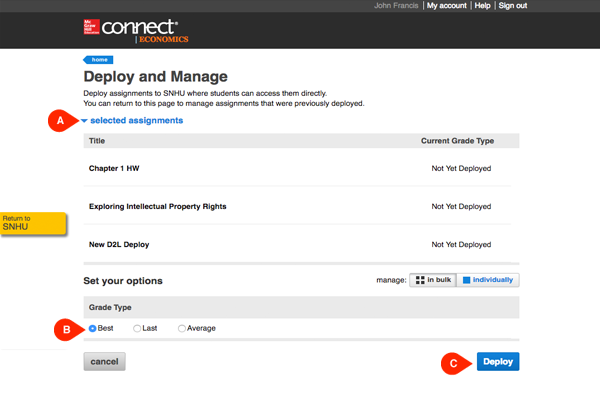
4. To see all of the assignments you selected for deployment, click the arrow next to selected assignments (A). Choose the Grade Type you want to deploy (B) and then click Deploy (C).
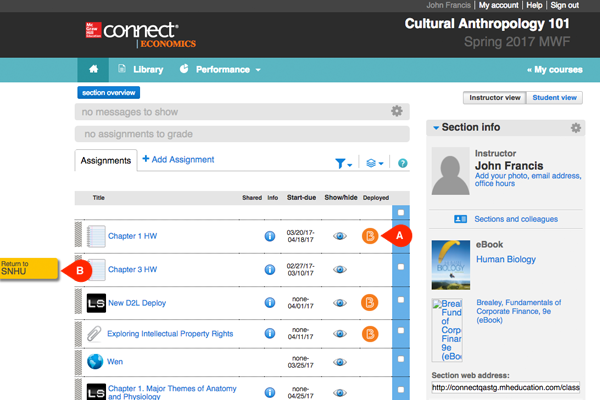
6. You will be returned to your Connect section home page. If your assignments were deployed successfully, they will appear with the Brightspace logo (A) in the Deployed column. Return to Brightspace (B) to see the assignments in Brightspace.
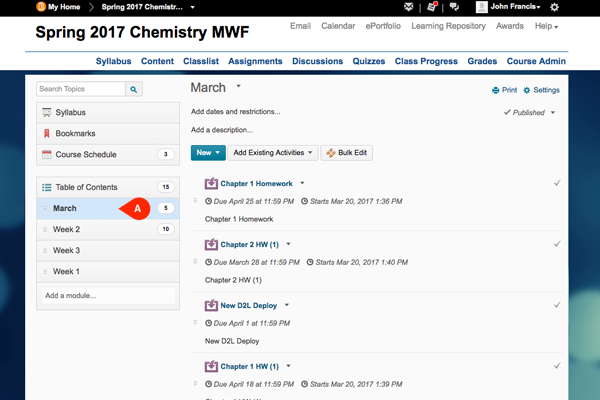
7. Once in Brightspace, click Syllabus (A).

8. Click on the first module in the list (A) to see the assignments you deployed.
In Brightspace, find the desired course. Then click Syllabus (A).
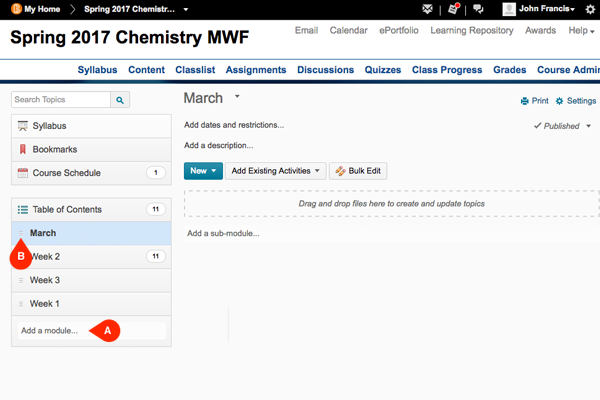
2. Under Table of Contents you have the option to Add a module (A). Once you’ve added one, it will appear at the bottom of the list. Note that assignments will be deployed into the top most module in the list, so make sure to rearrange modules as needed. Use the icon next to the module name to reorder it or move it to the top of the list (B).
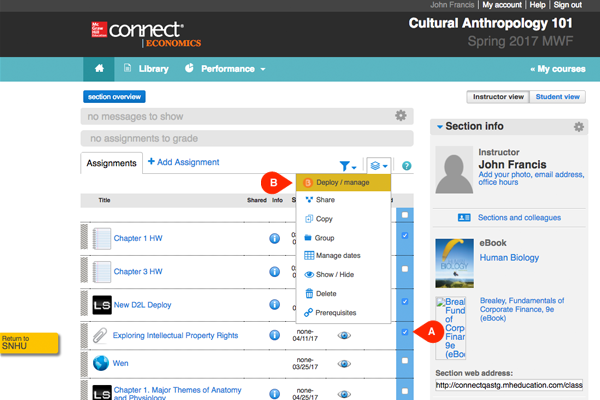
3. Once you’ve set up your modules, go to your Connect section and select the assignments you want to deploy by checking the boxes next to them (A). Then, from the Section Options menu, select Deploy/manage (B).
4. To see all of the assignments you selected for deployment, click the arrow next to selected assignments (A). Choose the Grade Type you want to deploy (B) and then click Deploy (C).
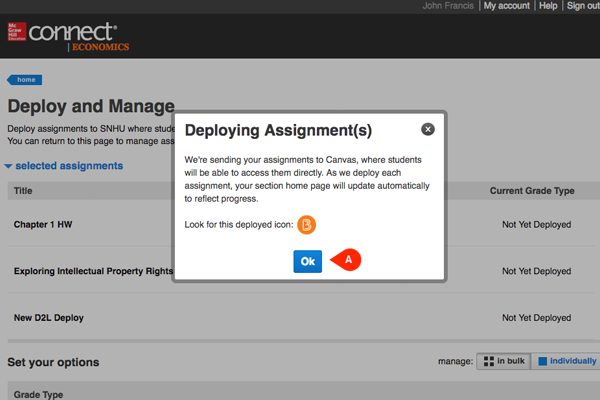
5. You’ll see a confirmation screen before we deploy your assignments. Click Ok (A) to continue.
6. You will be returned to your Connect section home page. If your assignments were deployed successfully, they will appear with the Brightspace logo (A) in the Deployed column. Return to Brightspace (B) to see the assignments in Brightspace.
7. Once in Brightspace, click Syllabus (A).
8. Click on the first module in the list (A) to see the assignments you deployed.