Connect - Create File Attachment Assignments
Create file attachment assignments in Connect to collect documents and offline work.
Tags
- Higher Ed Student
- Higher Education
- Customer Support
- Connect
- Instructor
- Assignment Management


This article explains how to create a file attachment assignment in Connect. This assignment type is best used when the goal of the assignment is for students to submit a single, final document for instructor review. You can simply provide instructions and/or a prompt and receive files for grading from your students through Connect. You can also include a template file for students to reference while working on the assignment, or you can include a blank version of the assignment that your students can download, complete, and upload for grading as their assignment submission.
1. Select a course section from your instructor dashboard.
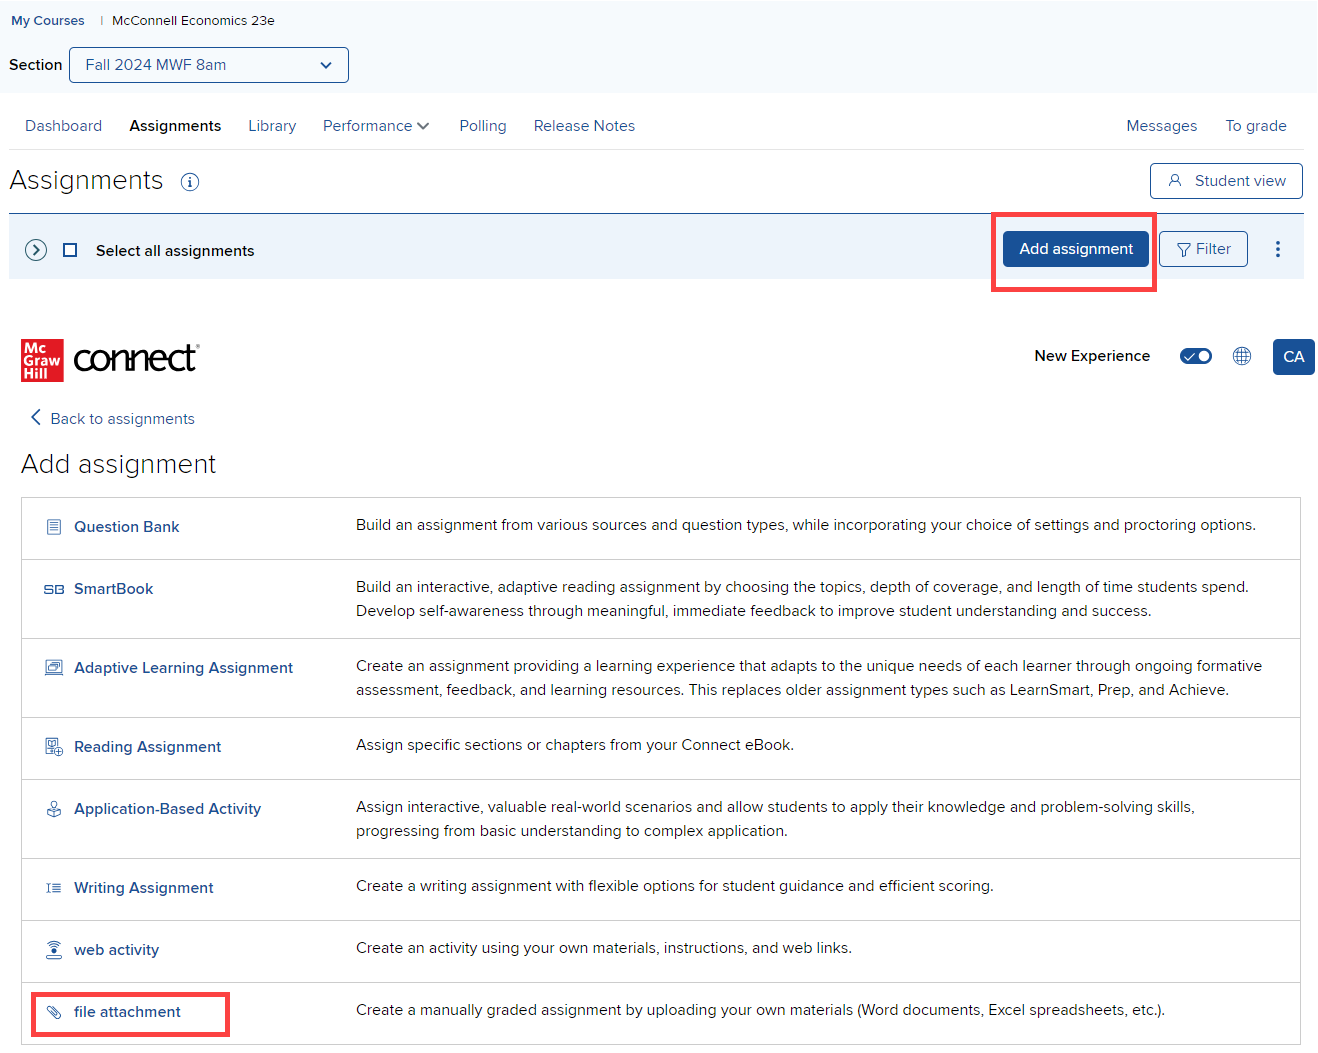
2. From your section homepage, select the Add Assignment tab. Then select file attachment.
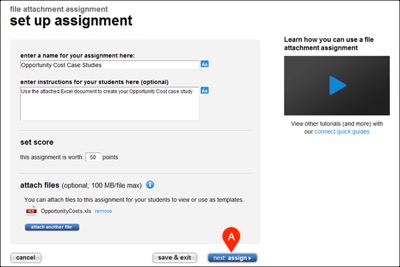
2. The set up assignment screen will open, enabling you to name the assignment (A), enter instructions for your students (B), and set the point value (C). Optionally click choose file... (D) to attach files for your students to reference or use as a template when completing the assignment.

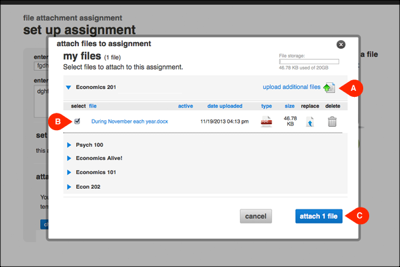
3. If you're uploading a file for the assignment, you can upload a new file (A) and/or select a file already uploaded (B) to your course files areas in Connect. Once you've uploaded and/or selected the file, click attach file (C).
4. Once you've entered all the details for your assignment, click next: assign (A).
1. Select a course section from your instructor dashboard.
2. From your section homepage, select the Add Assignment tab. Then select file attachment.
2. The set up assignment screen will open, enabling you to name the assignment (A), enter instructions for your students (B), and set the point value (C). Optionally click choose file... (D) to attach files for your students to reference or use as a template when completing the assignment.
3. If you're uploading a file for the assignment, you can upload a new file (A) and/or select a file already uploaded (B) to your course files areas in Connect. Once you've uploaded and/or selected the file, click attach file (C).
4. Once you've entered all the details for your assignment, click next: assign (A).
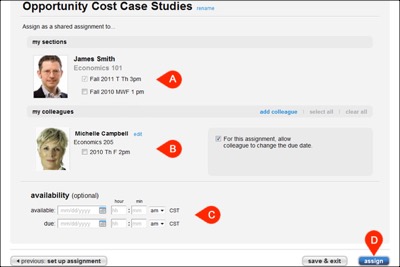
5. The assign to students screen will appear, enabling you to select your sections (A) and your colleague's sections (B) (if sharing the assignment), as well as set the availability dates (C). Click assign (D) to complete the process.